How to Store Christmas Decorations So Next December Is Easy
Every January, millions of people shove their Christmas decorations into whatever boxes are handy and promise themselves they will deal with it properly next year. Every December, they open those boxes to a tangle of lights, three broken ornaments, and a mystery bag of hooks, and they swear again. This is the year to break the cycle.
The secret is that good storage happens during takedown, not after it. The system below takes about the same time as stuffing everything into boxes, but next December you will open labeled, organized containers and decorate in an afternoon instead of a weekend. Future you will be genuinely grateful.
Here's what you'll learn in this guide to how to store Christmas decorations: sorting by zone as you take things down, the divided-box method for ornaments, tree bags and wreath storage, wrapping lights without tangles, labeling everything, and where to put it all.
Sort by Zone as You Take Things Down
Do not pack room by room into one giant box. Pack by decoration zone, because that is how you will put them back up. The zones most homes have: the tree, the mantel or shelves, the front door and porch, the windows, and the dining table or centerpieces.
Set up the zones before you start
Grab one box or bin per zone and label it loosely before you touch a single ornament: TREE, MANTEL, PORCH, WINDOWS, TABLE. As you take decorations down, each item goes straight into its zone box. This one habit does more for next December than any organizer product ever will. You will decorate zone by zone, box by box, instead of digging through one chaotic container for the mantel garland.
Edit while you pack
Takedown is the best decluttering moment of the year because every decoration is already in your hands. Be honest with each item:
- Broken beyond simple repair: throw it out now, not into a box.
- Has not been displayed in two years: donate it. Someone else's mantel wants it.
- Duplicates you forgot you owned: keep the best, donate the rest.
- Still loved: pack it with care.
This edit keeps your storage footprint from growing every year. If the bins are fuller than last January, something went wrong.
Ornaments: The Divided-Box Method
Ornaments are the most fragile and most annoying items to store, and they are the ones people most often regret packing badly. The divided-box method is simple and it works.
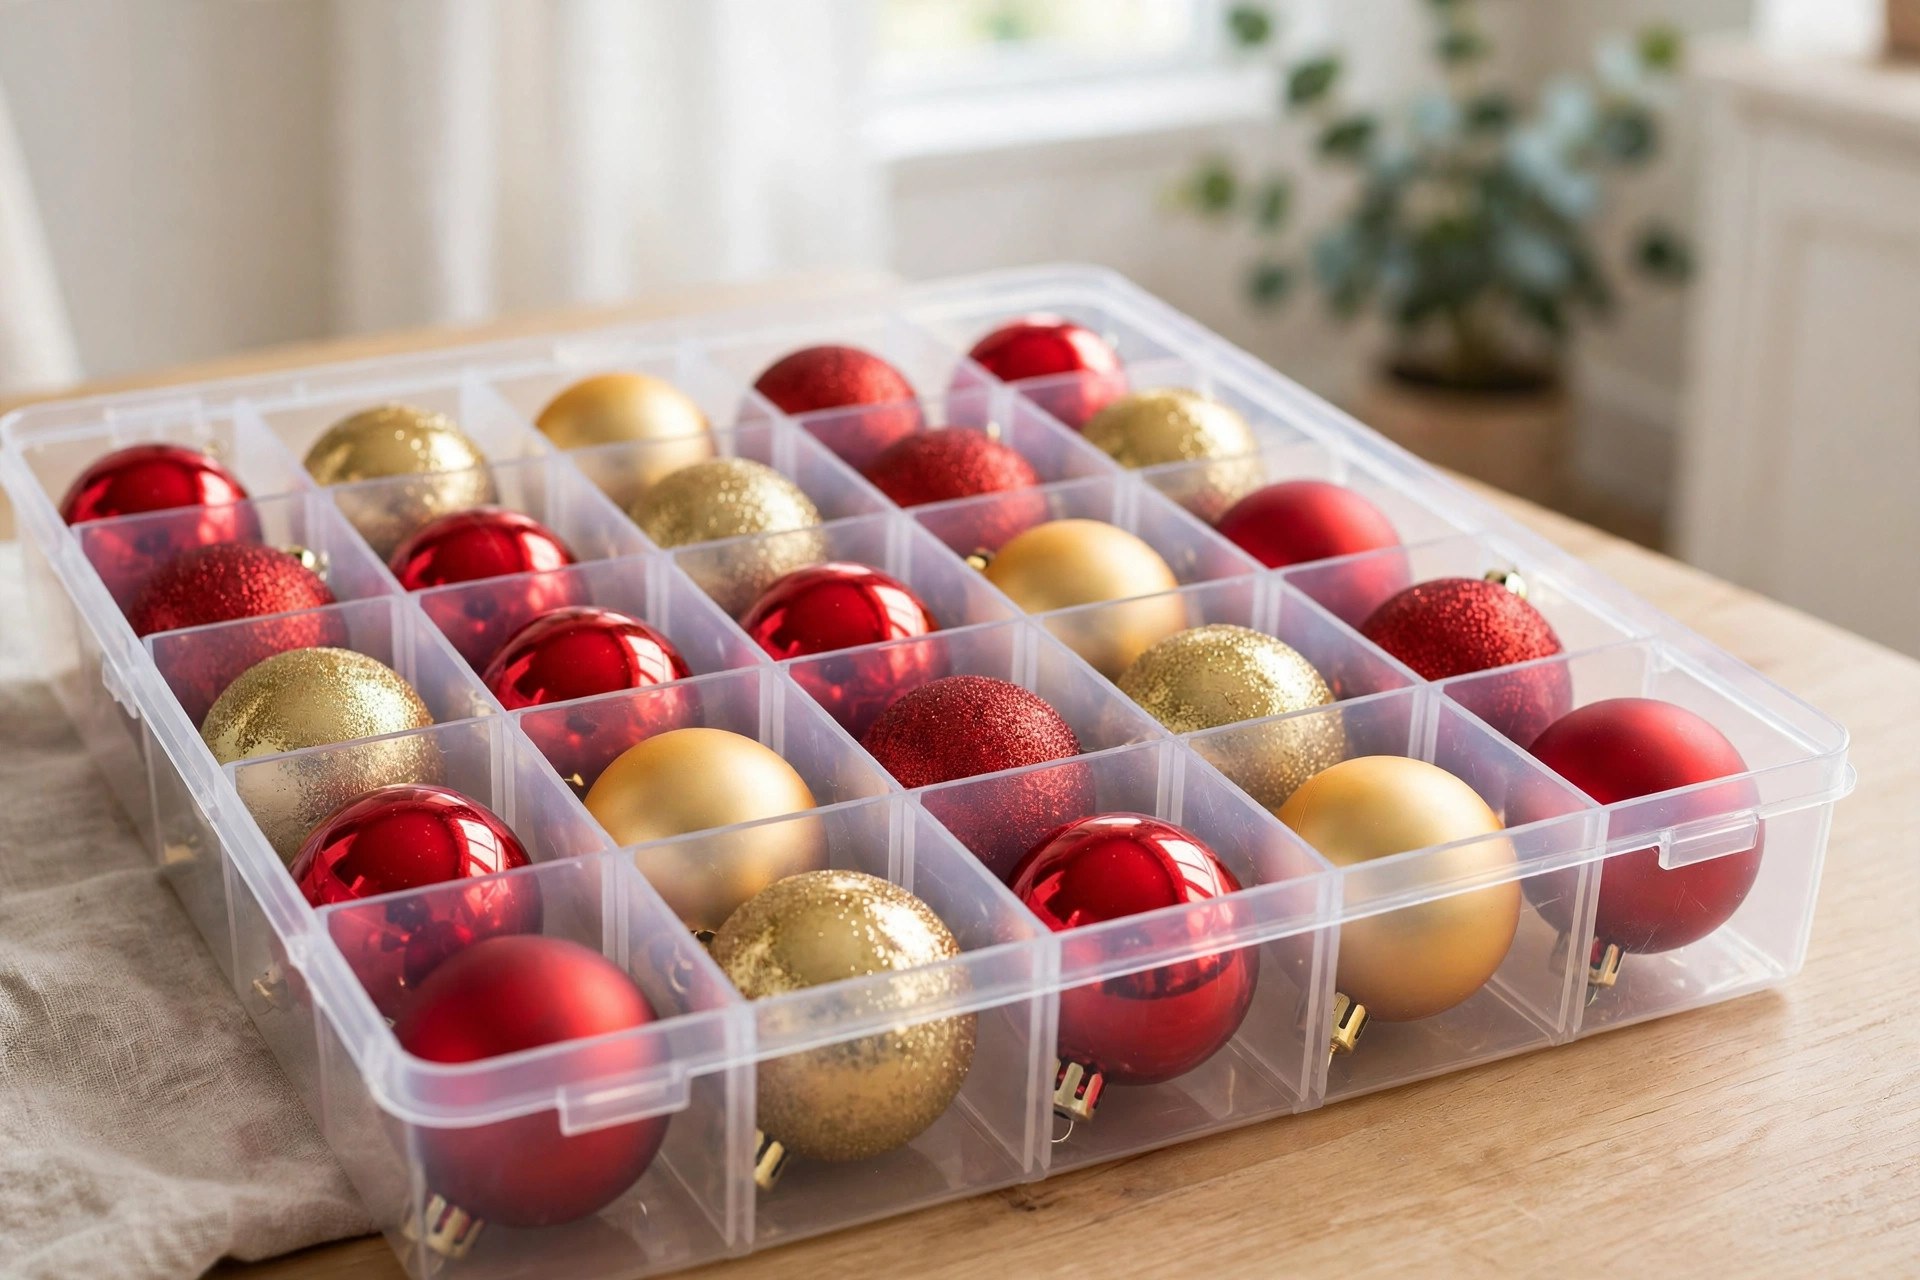
Use compartment boxes, not tissue nests. Cardboard ornament boxes with divided trays, or plastic bins with adjustable dividers, keep each ornament in its own cell. They stack, they protect, and you can see everything at a glance. Wrap only the genuinely fragile or valuable pieces in tissue; the dividers do the rest of the work.
Pack heavy ornaments on the bottom, light on top. Glass balls and heavy vintage pieces go in the lowest tray. Lightweight shatterproof ornaments and paper decorations go up top. This is obvious once stated and ignored constantly.
Bag the ornament hooks separately. Every year, hooks migrate to the bottom of the box and vanish. Put them in a small zip bag taped to the inside lid of the ornament box. Next December, they are the first thing you see.
Keep heirlooms apart. The ornaments with real sentimental or monetary value deserve their own smaller box, packed with extra care and labeled clearly. If anything gets damaged in storage, it should not be grandmother's hand-painted ball.
Tree Bags, Wreaths, and Garlands
Artificial trees
Skip the original box; it was designed to be opened once. A proper tree bag or rolling tree bag sized for your tree's height costs 25 to 40 dollars, lasts for years, and turns takedown into a ten-minute job: collapse the sections, slide them in, zip, done. Store the bag upright so branches are not crushed all year.
Wreaths and garlands
Wreaths keep their shape in round wreath storage bags or rigid wreath boxes. Do not hang them on a nail in the garage all year; dust and distortion do real damage. Garlands coil neatly into large zip bags or their own bin. If a garland has lights, wrap the lights first using the method below, then coil the garland around the bundle.
Wrap Lights Without Tangles
Christmas lights are the number one source of December frustration, and they are entirely preventable. The method:
- Test before you pack. Plug in each strand. If half the strand is dark, decide now whether it is worth keeping. Dead strands get recycled, not stored.
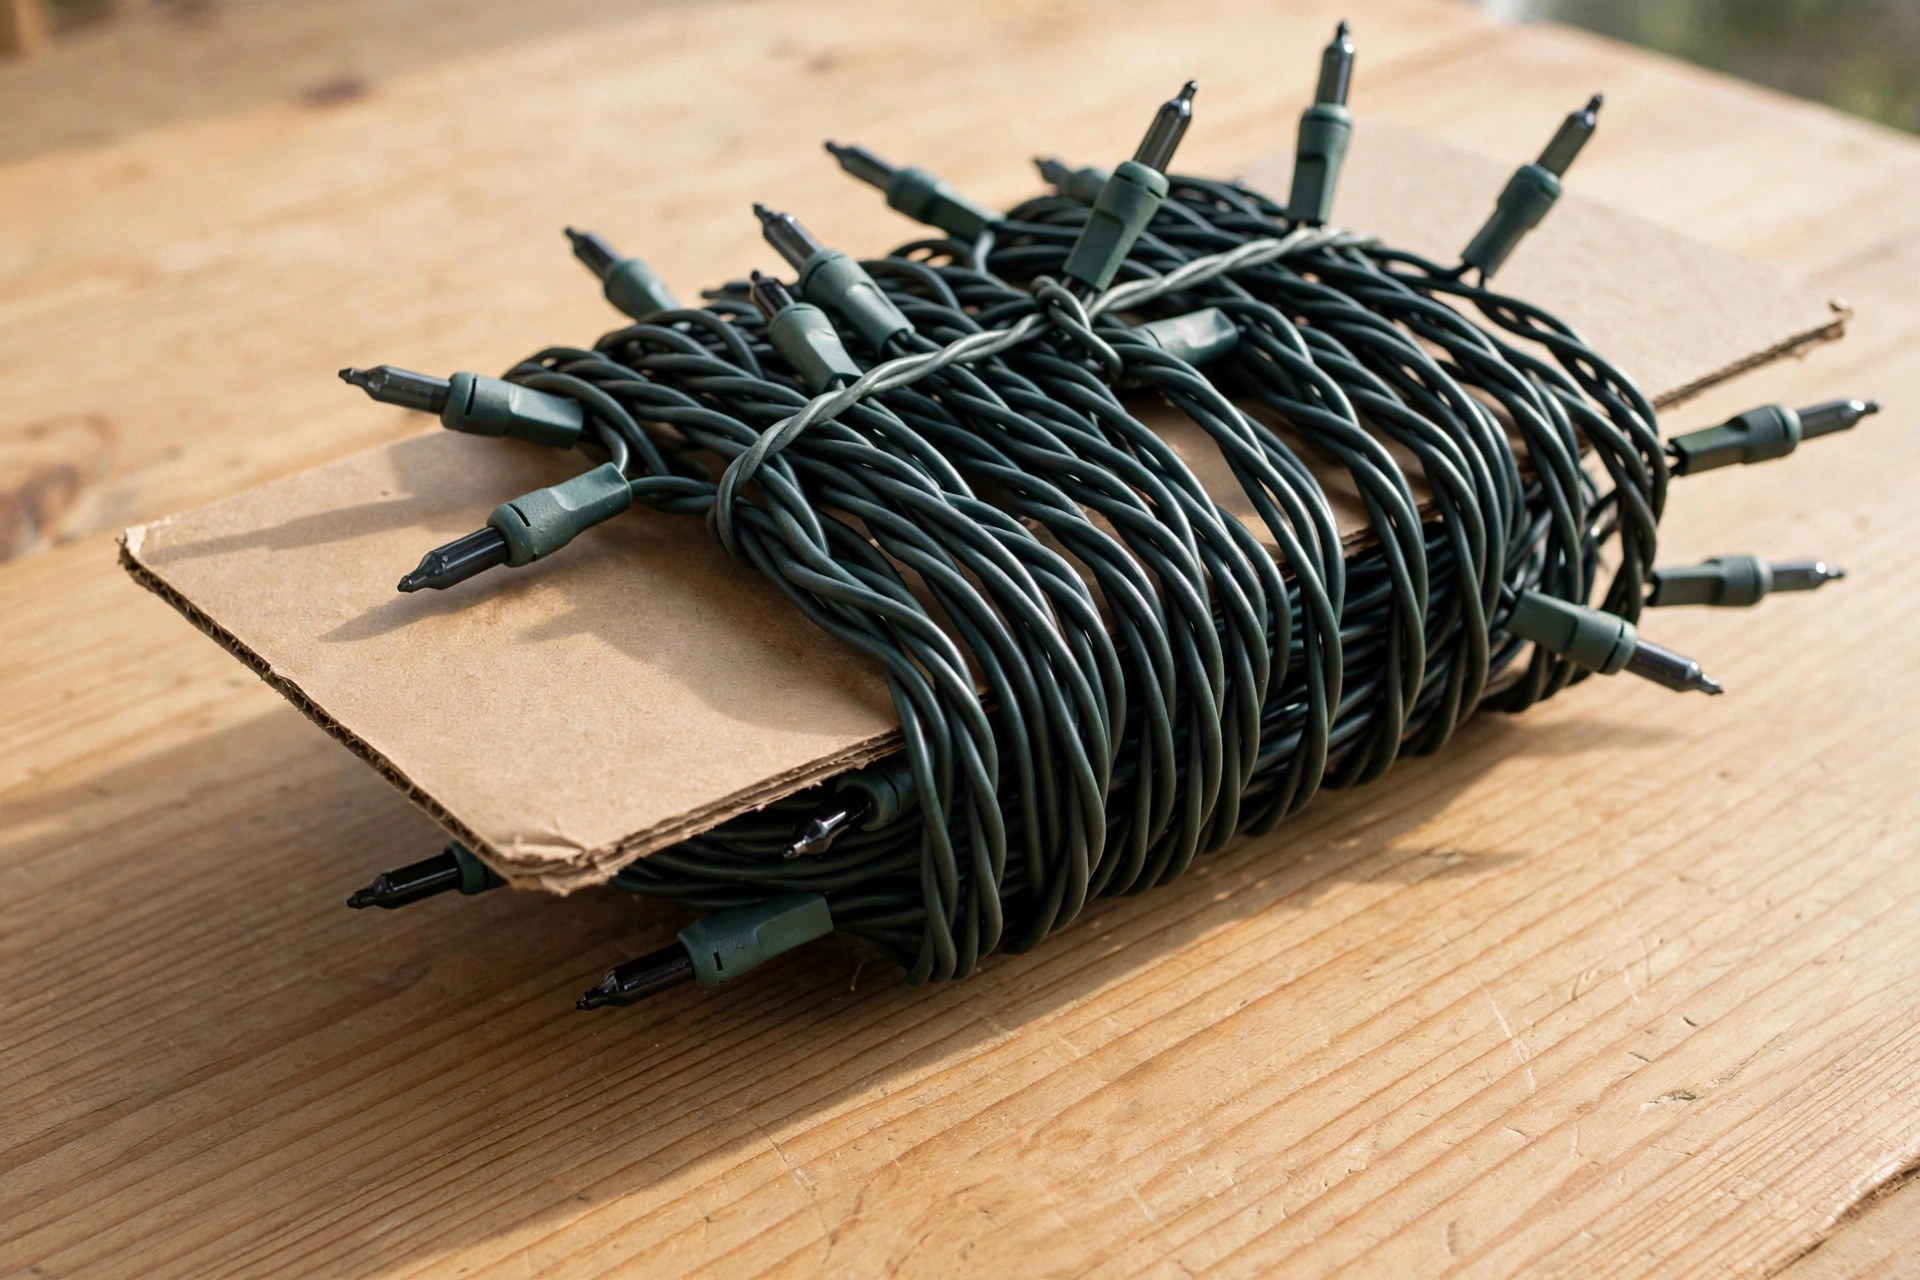
- Wrap each strand around a cord reel or a piece of cardboard. Start at the plug end so you always know which end is which. Wrap snugly but not tight; crushing the wire insulation shortens the strand's life.
- Secure the bundle. A strip of velcro, a twist tie, or a rubber band keeps the coil from unraveling.
- Bag each strand separately. One zip bag per strand. This is the step that actually prevents tangles: strands cannot knot together if they never touch.
Label each bag with the strand length and where it hung: "PORCH, 25 FT" or "TREE, 50 FT." Next December, you will grab the right strand on the first try. A small piece of masking tape and a marker is all this takes.
Label Everything Like a Stranger Will Open It
Labels are the difference between organized storage and organized-looking storage. Write labels for someone who has never seen your decorations: a helpful stranger, a spouse who did not do the packing, or yourself eleven months from now with zero memory of January.
What each label should say:
- The zone: TREE, MANTEL, PORCH, WINDOWS, TABLE
- A one-line contents summary: "glass balls, red and gold" or "stockings and mantel garland"
- Fragile items: mark FRAGILE plainly
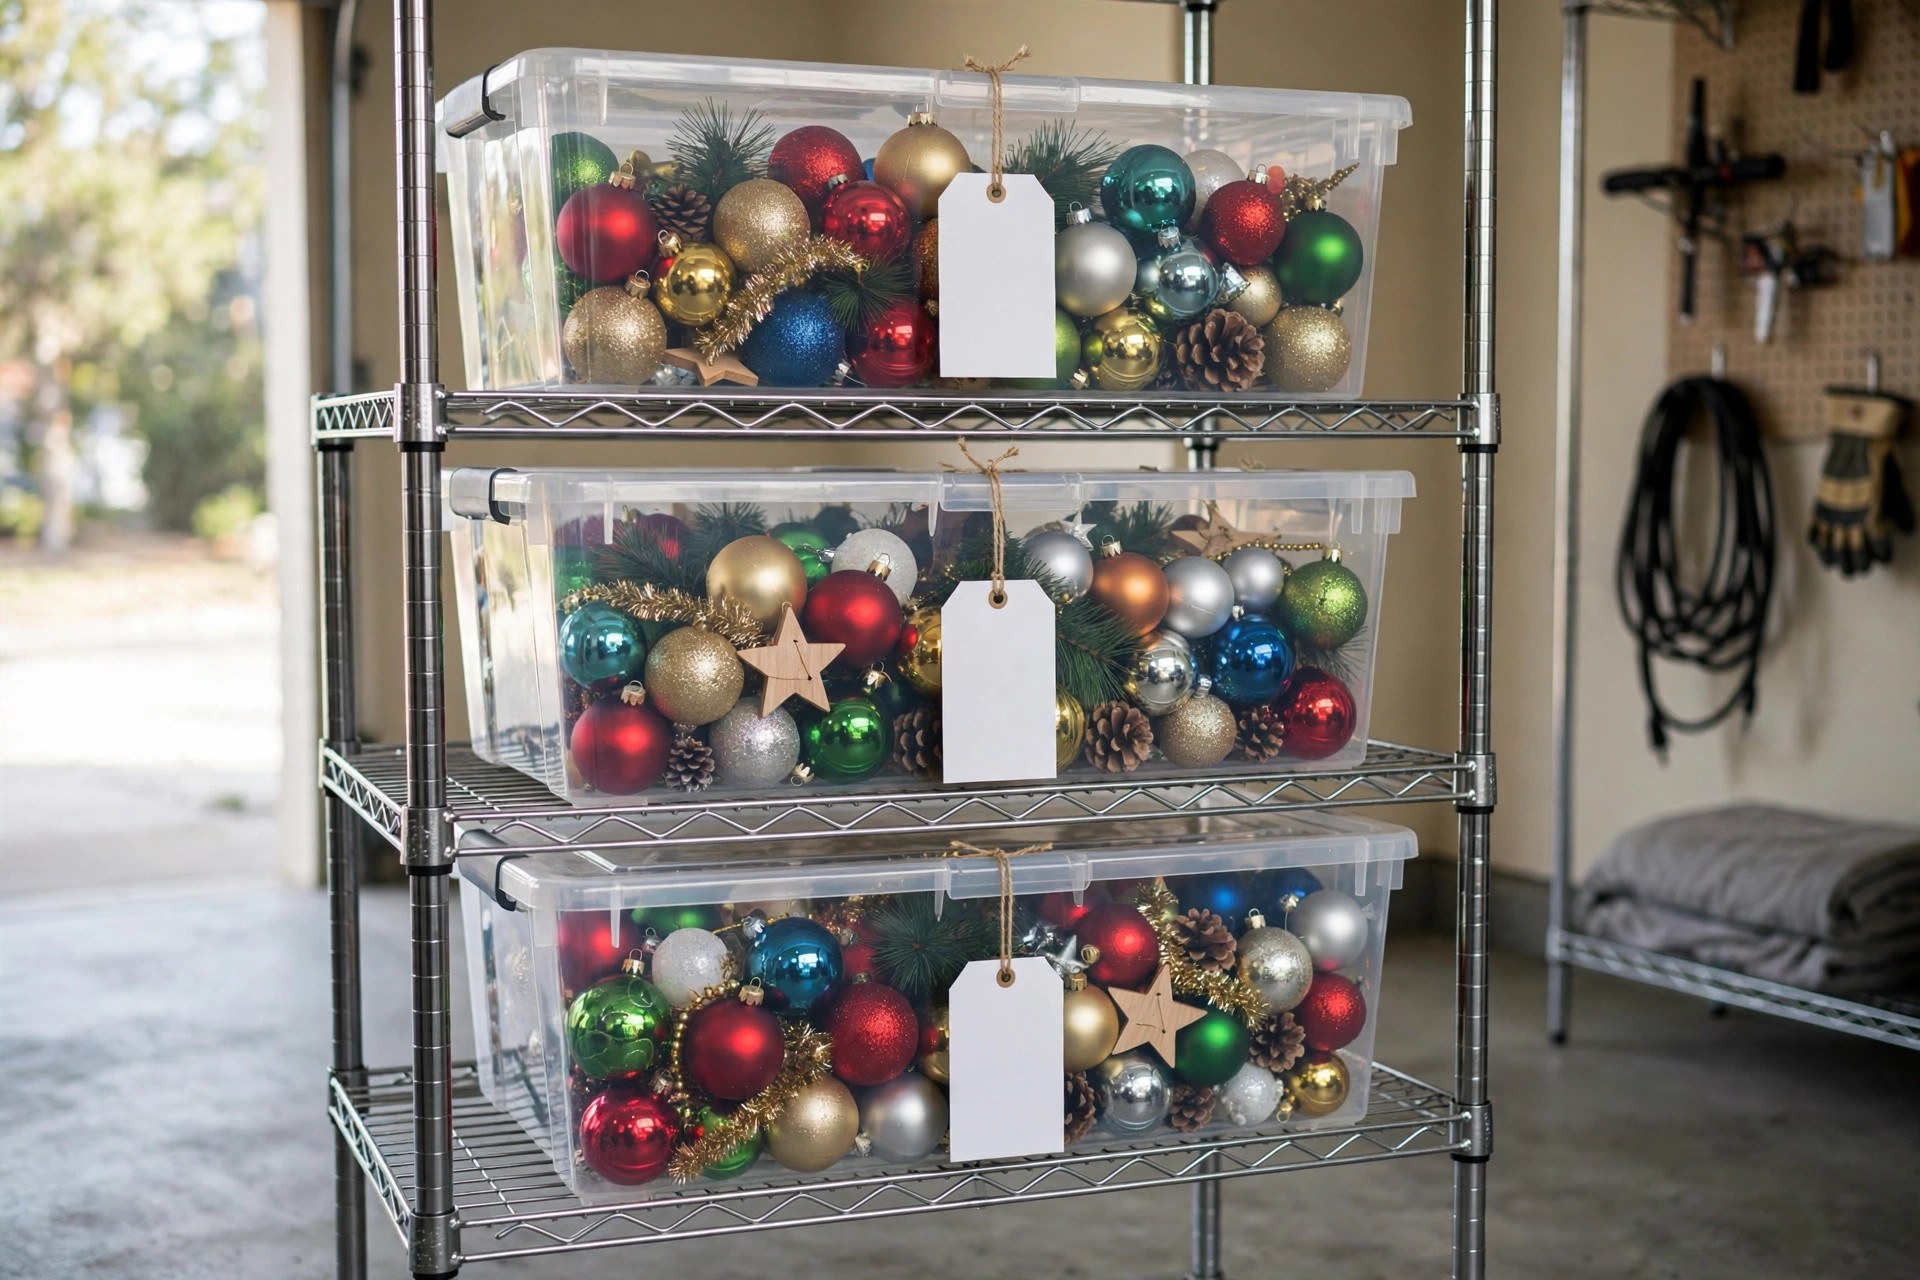
Use big labels on the short ends of bins so you can read them when bins are stacked on shelves. Masking tape and a thick marker work fine; printed labels last longer. Either beats opening six bins to find the tree topper.
The master list. Tape one index card or sheet to the top bin listing every bin and its contents. One glance tells you where everything is without opening anything. Photograph the list with your phone as a backup.
Where to Put It All
Christmas decorations need a storage spot that is dry, reasonably temperature-stable, and accessible enough that you will actually decorate next year.
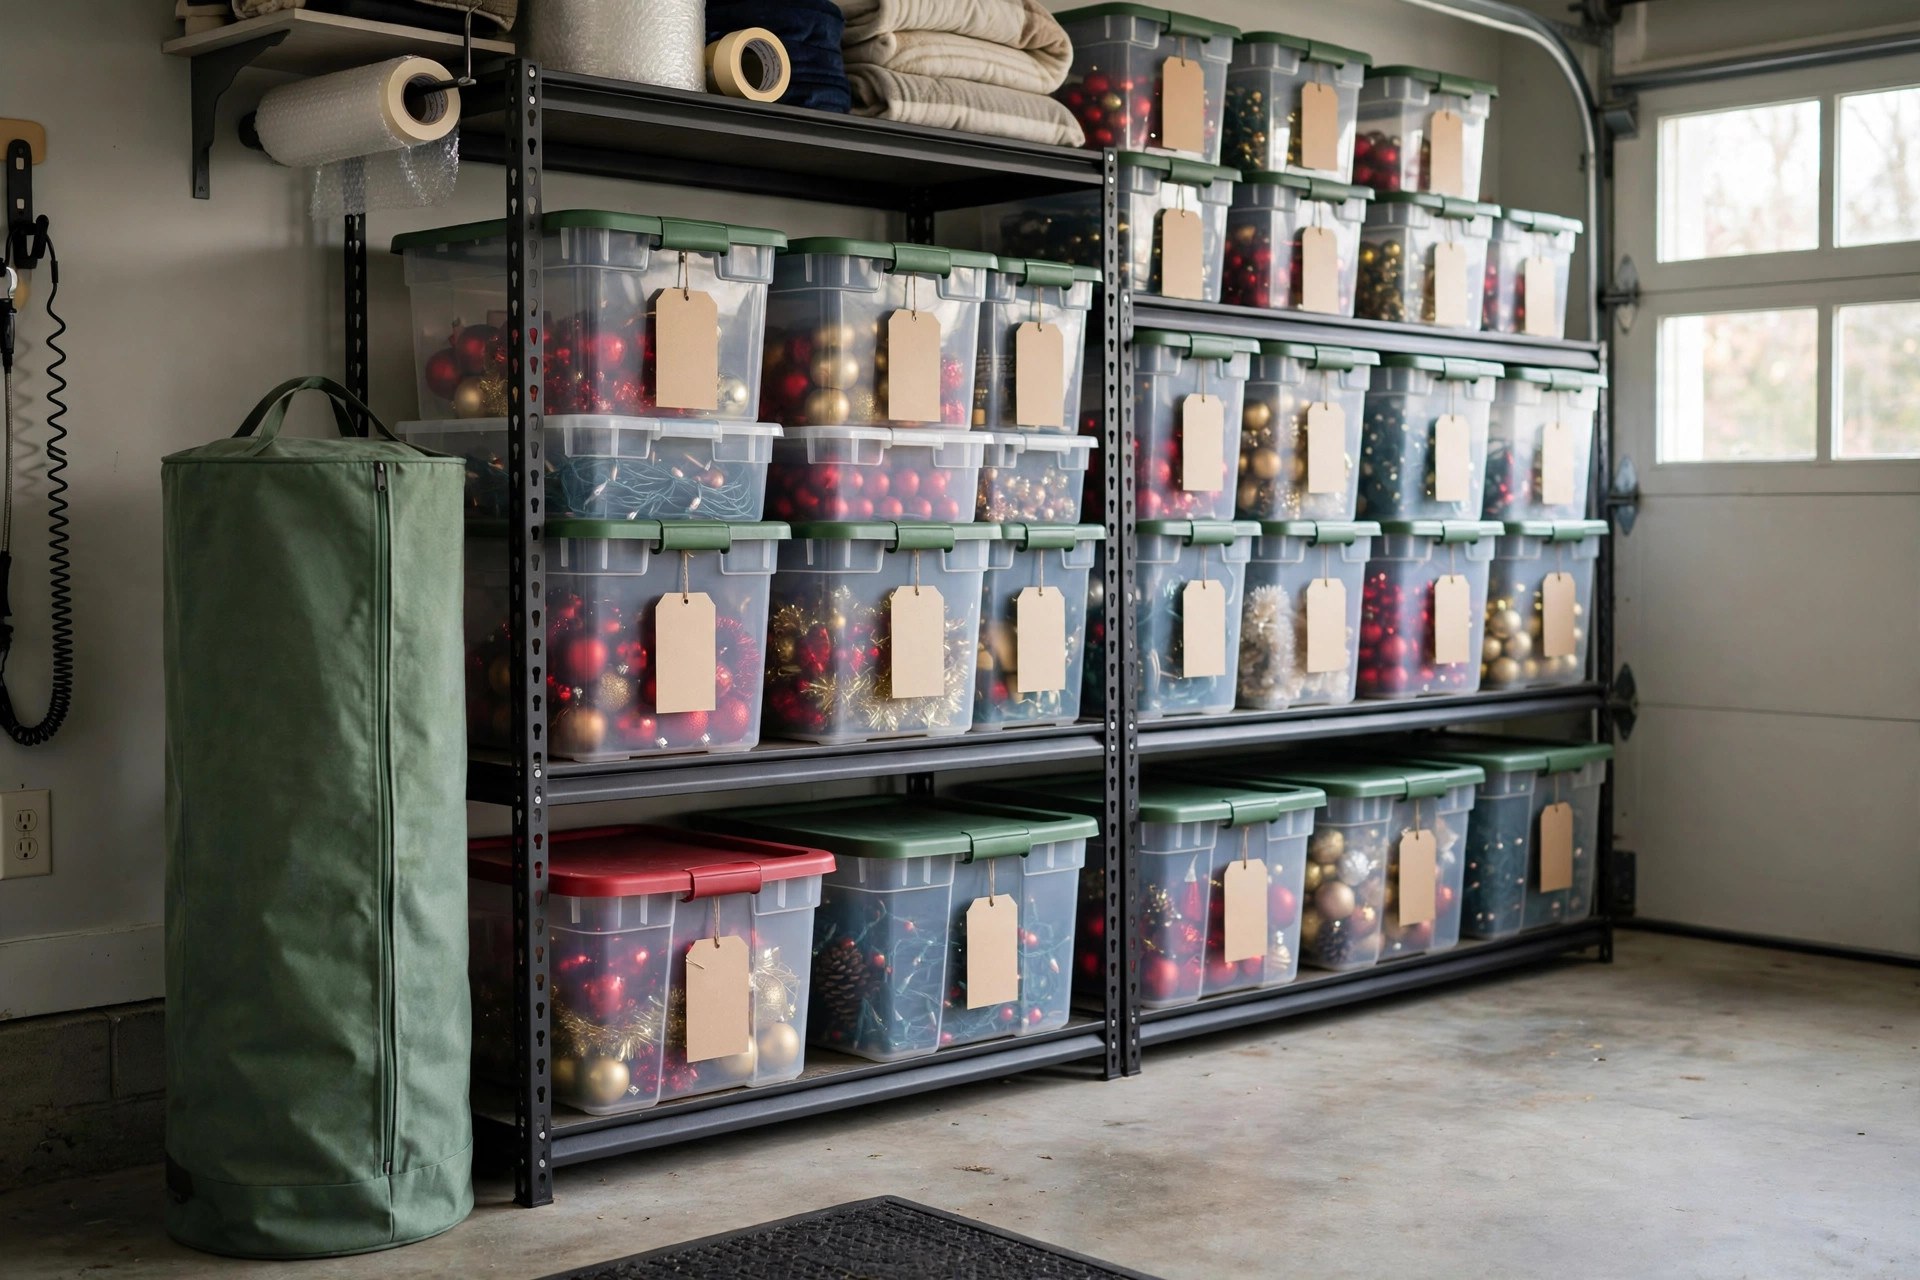
The garage works if it stays dry. Store bins on shelves, not on the concrete floor where moisture wicks up. Keep them away from the water heater and any spot that floods. Heat alone is fine for most decorations; moisture is the real enemy.
Attics are risky for candles and wax items. Summer attic heat melts candles, warps some plastics, and fades colors. If the attic is your only option, keep wax and delicate items in the house, in a closet or under a bed. Our guide to attic and basement storage organization covers how to set up those spaces properly.
Basements need waterproofing first. A damp basement ruins cardboard boxes and grows mildew on fabric decorations. Use sealed plastic bins, elevate them on shelving, and only store decorations there if the space stays dry year-round.
Keep the "first box" accessible. Designate one bin as the December starter: the tree topper, the advent calendar, the stockings, the few things that go up first. Store it at the front of the stack or in a closet instead of buried behind everything. When decorating weekend arrives, you start with one easy box instead of an excavation.
For the garage specifically, a full weekend reset makes storage dramatically easier. Our garage organization on a budget guide walks through shelving and zoning that gives holiday bins a permanent home.
The Takedown-Day Game Plan
Put it all together and takedown day looks like this:
- Set out labeled zone bins and packing supplies before you start.
- Take down one zone at a time, editing as you go.
- Test and wrap lights strand by strand, bagging each one.
- Pack ornaments in divided boxes, heavy on the bottom, hooks in a zip bag on the lid.
- Bag the tree, box the wreaths, coil the garlands.
- Label every bin with zone, contents, and fragile marks.
- Write the master list, photograph it, tape it to the top bin.
- Shelve bins off the floor in a dry spot, starter box in front.
Do it once, do it right, and takedown stops being a chore you dread. It becomes the quiet, satisfying end of the season: everything in its place, everything labeled, everything waiting patiently for next December. If guests are arriving before the holidays, our holiday guest room prep guide gets the spare room ready too.