How to Set Up a Smart Home Hub in a Small Apartment (No Rewiring)
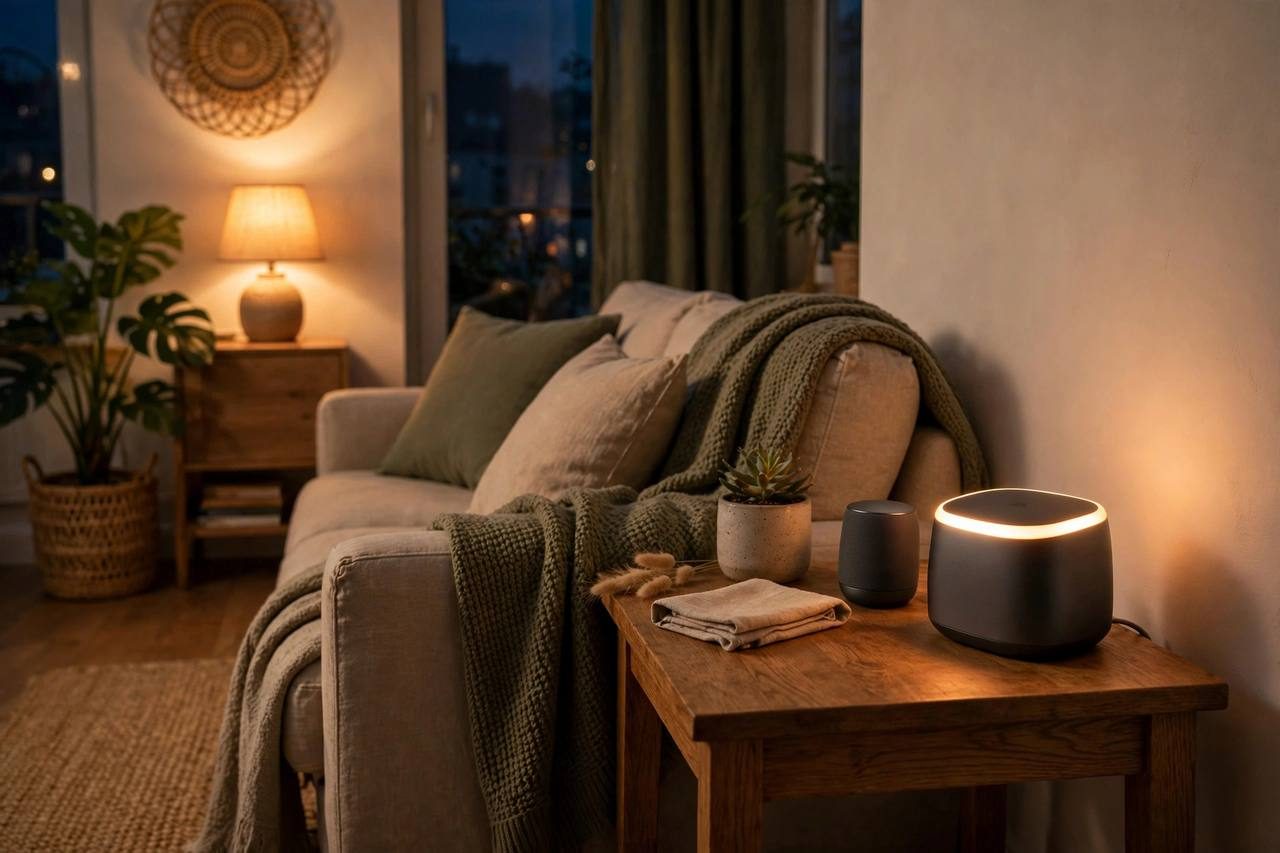
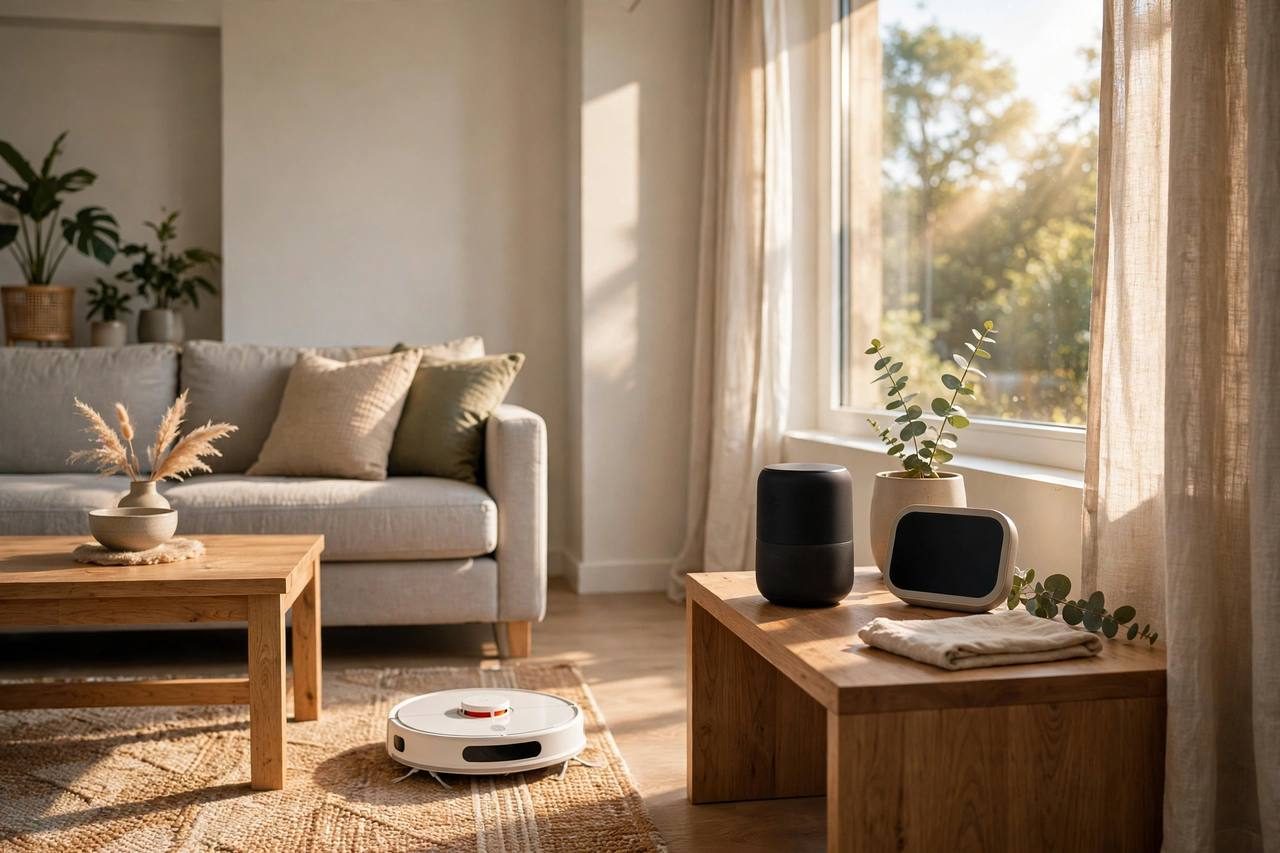
A smart home hub is the brain that lets your devices work together: the door sensor that turns off the AC when a window opens, the single "goodnight" command that locks the door and kills the lights. In a small apartment, though, you may not need a dedicated hub at all. A smart speaker often does the job. This guide explains when a hub is worth it, which one to pick, and how to set the whole thing up in an afternoon without touching a single wire.
Do You Actually Need a Hub?
Start here, because the honest answer is often no. If every device you own connects over Wi-Fi and you control them through Alexa or Google Home, your smart speaker already acts as the hub. Routines, voice control, and scheduling all work fine with no extra hardware.
A dedicated hub earns its place in three situations. First, you want Zigbee or Z-Wave sensors, which are cheaper, smaller, and run for years on a coin battery, unlike Wi-Fi sensors that need frequent recharging. Second, you want local control that keeps working when the internet drops. Third, your household runs on Apple HomeKit, which leans on Thread and benefits from a proper hub like a HomePod mini.
For a typical one-bedroom apartment with a dozen or fewer devices, a smart speaker plus Wi-Fi gear is plenty. Add a dedicated hub when you catch yourself wanting sensors in every room or automations that span brands.
Your Hub Options Compared
- Amazon Echo (4th gen, $60 to $100): The simplest hub for most people. Some Echo models include a Zigbee hub built in, so they talk directly to Zigbee sensors and bulbs with no extra hardware. If you already use Alexa, this is the default choice.
- Amazon Echo Dot ($35 to $50): A fine voice controller and routine runner, but it lacks the built-in Zigbee hub of its bigger sibling. Buy it as a speaker and controller; pair it with a separate hub later only if you add Zigbee sensors.
- Google Nest Audio ($100): A great speaker with solid Google Home integration, but no Zigbee or Z-Wave radio. It is a controller, not a true hub. Fine if all your devices are Wi-Fi.
- Apple HomePod mini ($99): The pick for iPhone households. It supports Thread and Matter, acts as a HomeKit hub, and handles automations locally. The device compatibility list is narrower than Alexa's, so check that your gear supports HomeKit or Matter first.
- Aqara Hub M2 ($50): The budget dedicated hub. It bridges Aqara's excellent Zigbee sensors to Alexa, Google, and HomeKit at once. If your plan centers on affordable door, motion, and leak sensors, this little hub ties them together cleanly.
- Home Assistant on a Raspberry Pi ($100 or more in parts): The most powerful option and the steepest learning curve. It runs everything locally, supports nearly every brand, and never phones home. Choose it only if you enjoy tinkering, because it demands ongoing attention.
Step-by-Step: Setting Up in an Afternoon
1. Place the hub centrally. Put it in the living area, plugged into power, roughly central to where your devices will live. In a small apartment, one hub covers everything; placement matters more in houses.
2. Sort out your Wi-Fi bands. Most smart devices connect on 2.4 GHz, not 5 GHz. If your router merges both bands under one name, temporarily enable a separate 2.4 GHz network during setup, or use the router app's IoT network if it has one. This single step prevents half of all setup failures.
3. Install one app and create one account. Whether it is Alexa, Google Home, or Apple Home, do all setup in that one app. Name your home and create rooms (Bedroom, Kitchen, Living Room) before adding devices.
4. Add devices one at a time, closest first. Power on each device near the hub, add it in the app, confirm it responds, then move it to its final spot. Adding six devices at once and troubleshooting them as a group is how afternoons get ruined.
5. Name devices by room and function. "Bedroom Lamp" beats "Tapo Plug 3" when you are talking to a speaker at midnight. Consistent names also make routines readable later.
6. Build two or three routines. Start with the classics: a "Good morning" routine that turns on lights and reads the weather, an "I'm leaving" routine that turns everything off and arms the door sensor alerts, and a "Goodnight" routine that locks the door and kills the lights. You can get fancy later.
7. Test from outside. Turn off your phone's Wi-Fi and confirm you can still control devices over cellular. If remote access fails now, it will fail when you actually need it.
No-Rewiring Devices That Shine in Apartments
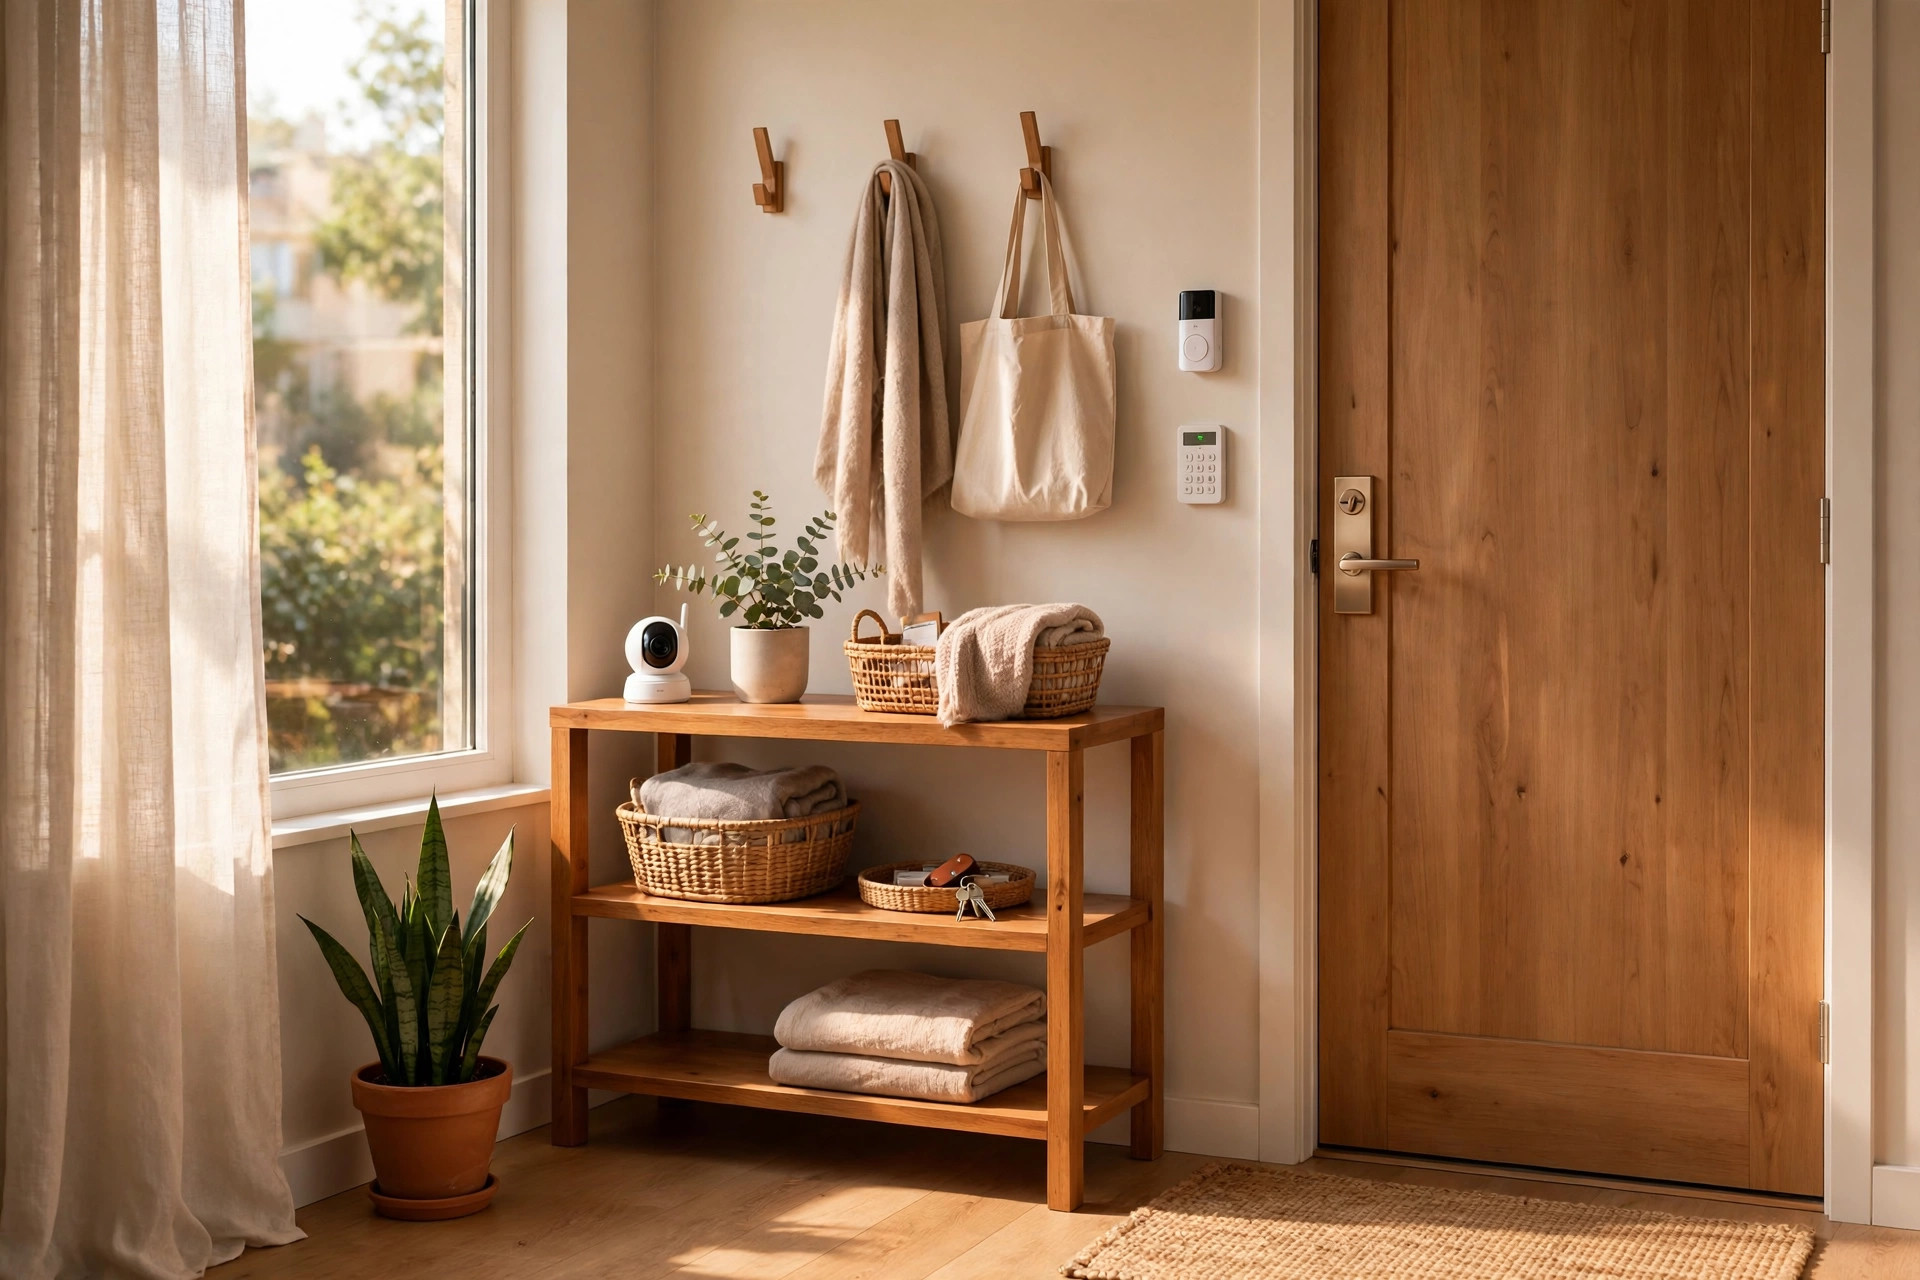
The best apartment devices share three traits: battery or plug-in power, adhesive or freestanding mounting, and no landlord approval needed. Smart plugs handle lamps, fans, and holiday lights. Smart bulbs screw into existing sockets. Battery-powered door, motion, and leak sensors stick to walls and frames with adhesive strips. The SwitchBot Bot physically presses buttons on dumb switches and appliances, making anything with a button smart without wiring. A battery video doorbell mounts with a no-drill bracket, and the August smart lock replaces only the interior side of your deadbolt. Every one of these moves with you.
Renter Rules for Smart Home Gear
Nothing gets hardwired, period. Use adhesive mounts and battery power for everything. Ask the landlord before swapping the thermostat or lock, and keep the originals boxed for move-out. Photograph the apartment's original condition around anything you mount, so there is no dispute over marks later. When you move, factory reset each device in its app, peel off the mounts, and reinstall in the new place in about two hours. A dab of touch-up paint handles any adhesive residue the lease cares about.
What to Skip in a Small Apartment
Skip in-wall smart switches, which need neutral wires and an electrician. Skip multi-hub setups; one hub covers 1,000 square feet easily. Skip any device that requires its own subscription for basic features, since the fees stack up fast across a dozen gadgets. And skip the urge to automate everything on day one. Live with the basics for two weeks, notice which routines you actually use, then expand.
Frequently Asked Questions
Do I need to rewire anything to set up a smart home hub?
No. Hubs plug into a standard outlet and connect over Wi-Fi. Every device recommended for apartments in this guide runs on batteries, plugs in, or mounts with adhesive.
Why do so many smart devices need 2.4 GHz Wi-Fi?
The 2.4 GHz band reaches farther and passes through walls better than 5 GHz, which matters for small battery-powered devices. It is also cheaper to build into gadgets. Most setup failures come from a phone on 5 GHz trying to hand credentials to a device that only speaks 2.4 GHz.
What if my landlord says no to a smart lock or thermostat?
Use workarounds that touch nothing permanent. A SwitchBot Bot can flip a light switch or press an AC button, battery sensors monitor doors and leaks without mounting hardware changes, and a smart plug can schedule a fan or lamp. None of these alter the apartment.
How much should I budget for a starter setup?
About $100 to $150 for a speaker, smart plugs, and bulbs. Add $50 for a dedicated hub like the Aqara M2 if you go the sensor route, and budget $30 to $200 per room as you expand into locks, cameras, and sensors.
Can I take the whole setup when I move?
Yes. Unplug the hub, peel off sensor mounts, factory reset everything in the app, and reinstall in the new apartment. Keep a list of device names and room assignments so the rebuild takes an hour instead of an afternoon.
Will a hub work during an internet outage?
It depends. Cloud-based routines through Alexa or Google pause when the internet drops, though some local device control keeps working. A Home Assistant setup or Thread-based devices with a HomePod mini keep running locally. If outage resilience matters, favor local-first gear.