Pantry Decanting on a Budget: The Complete Small-Kitchen Guide
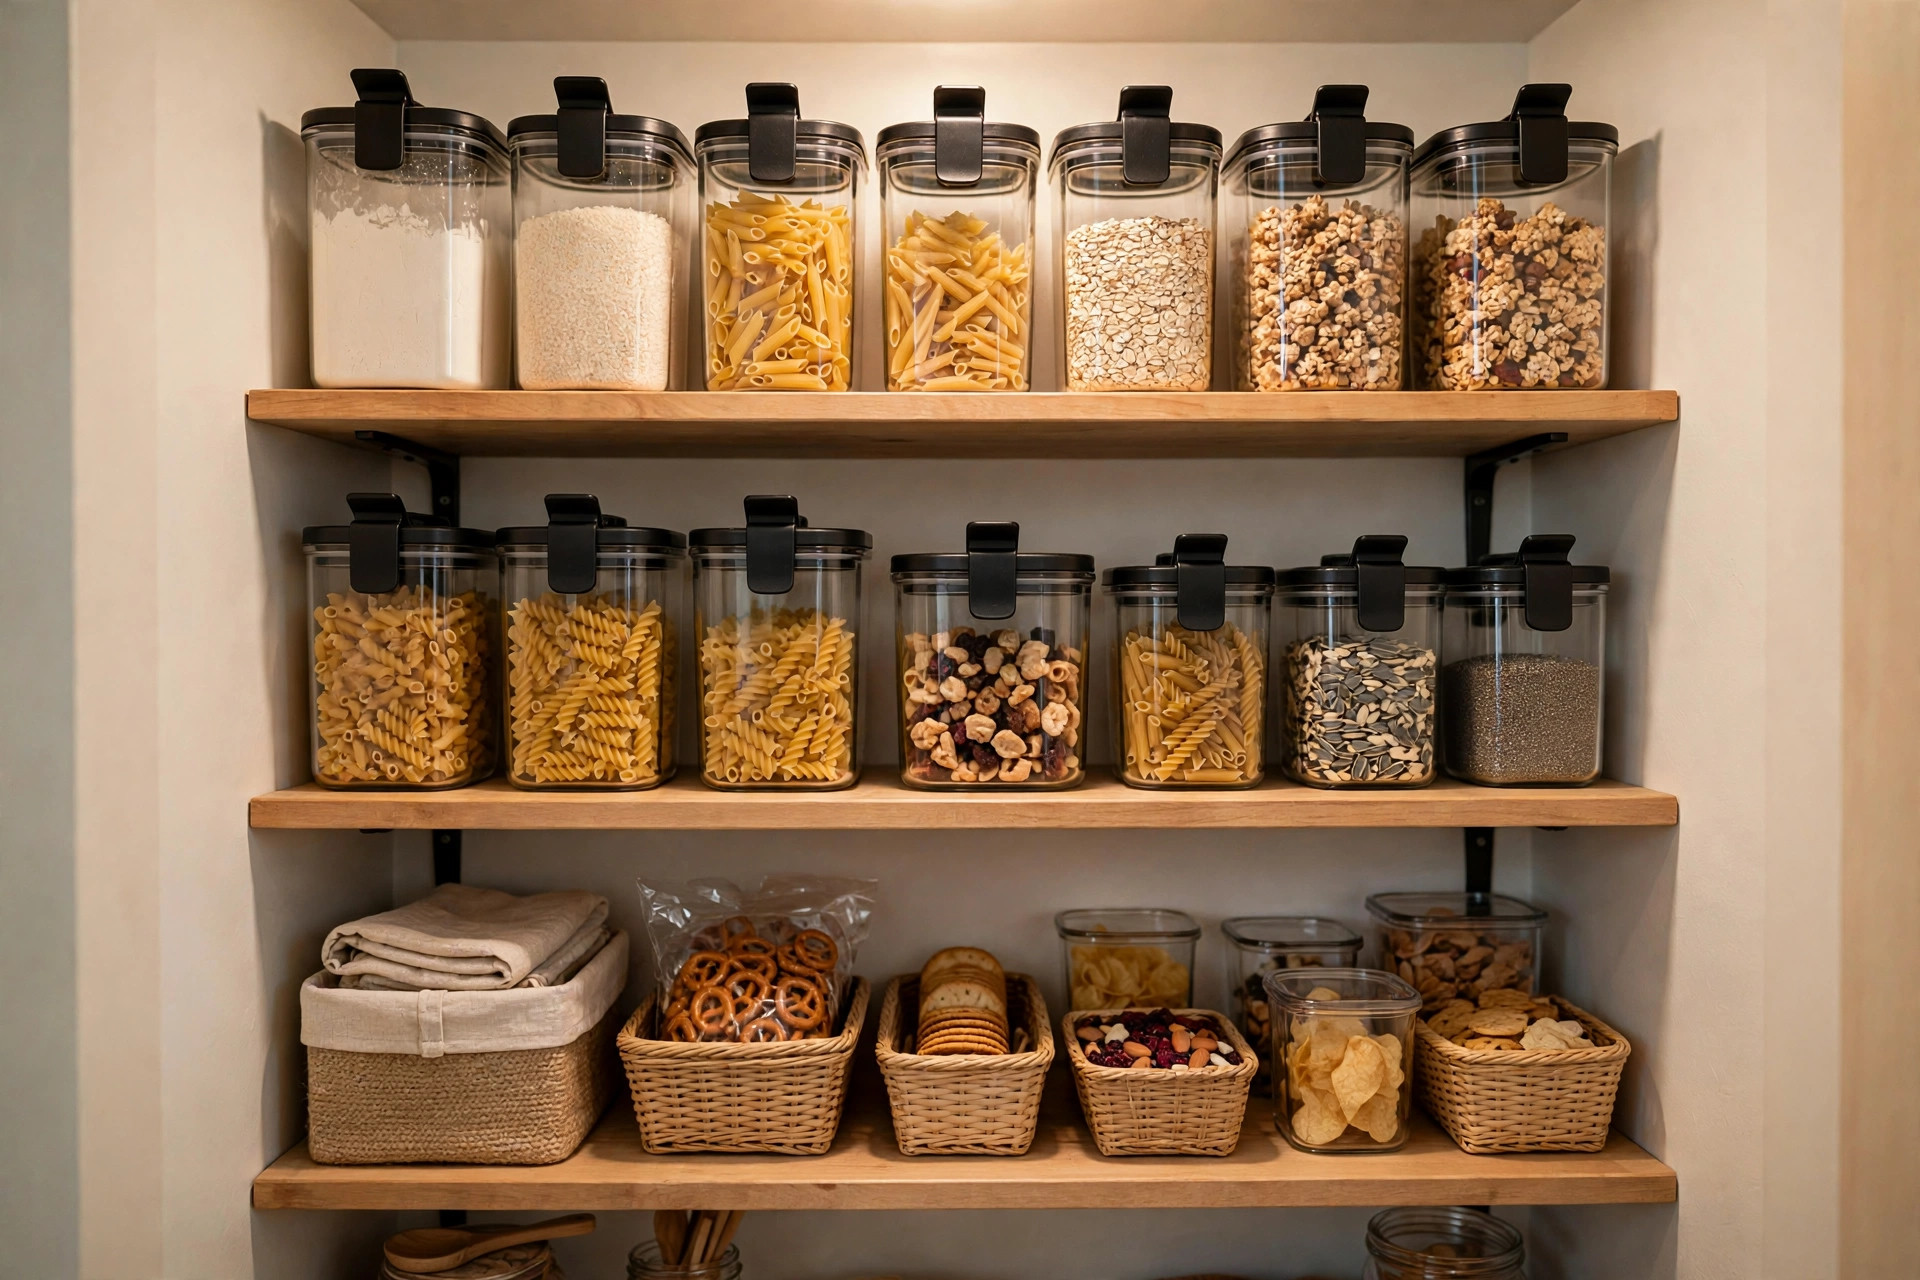
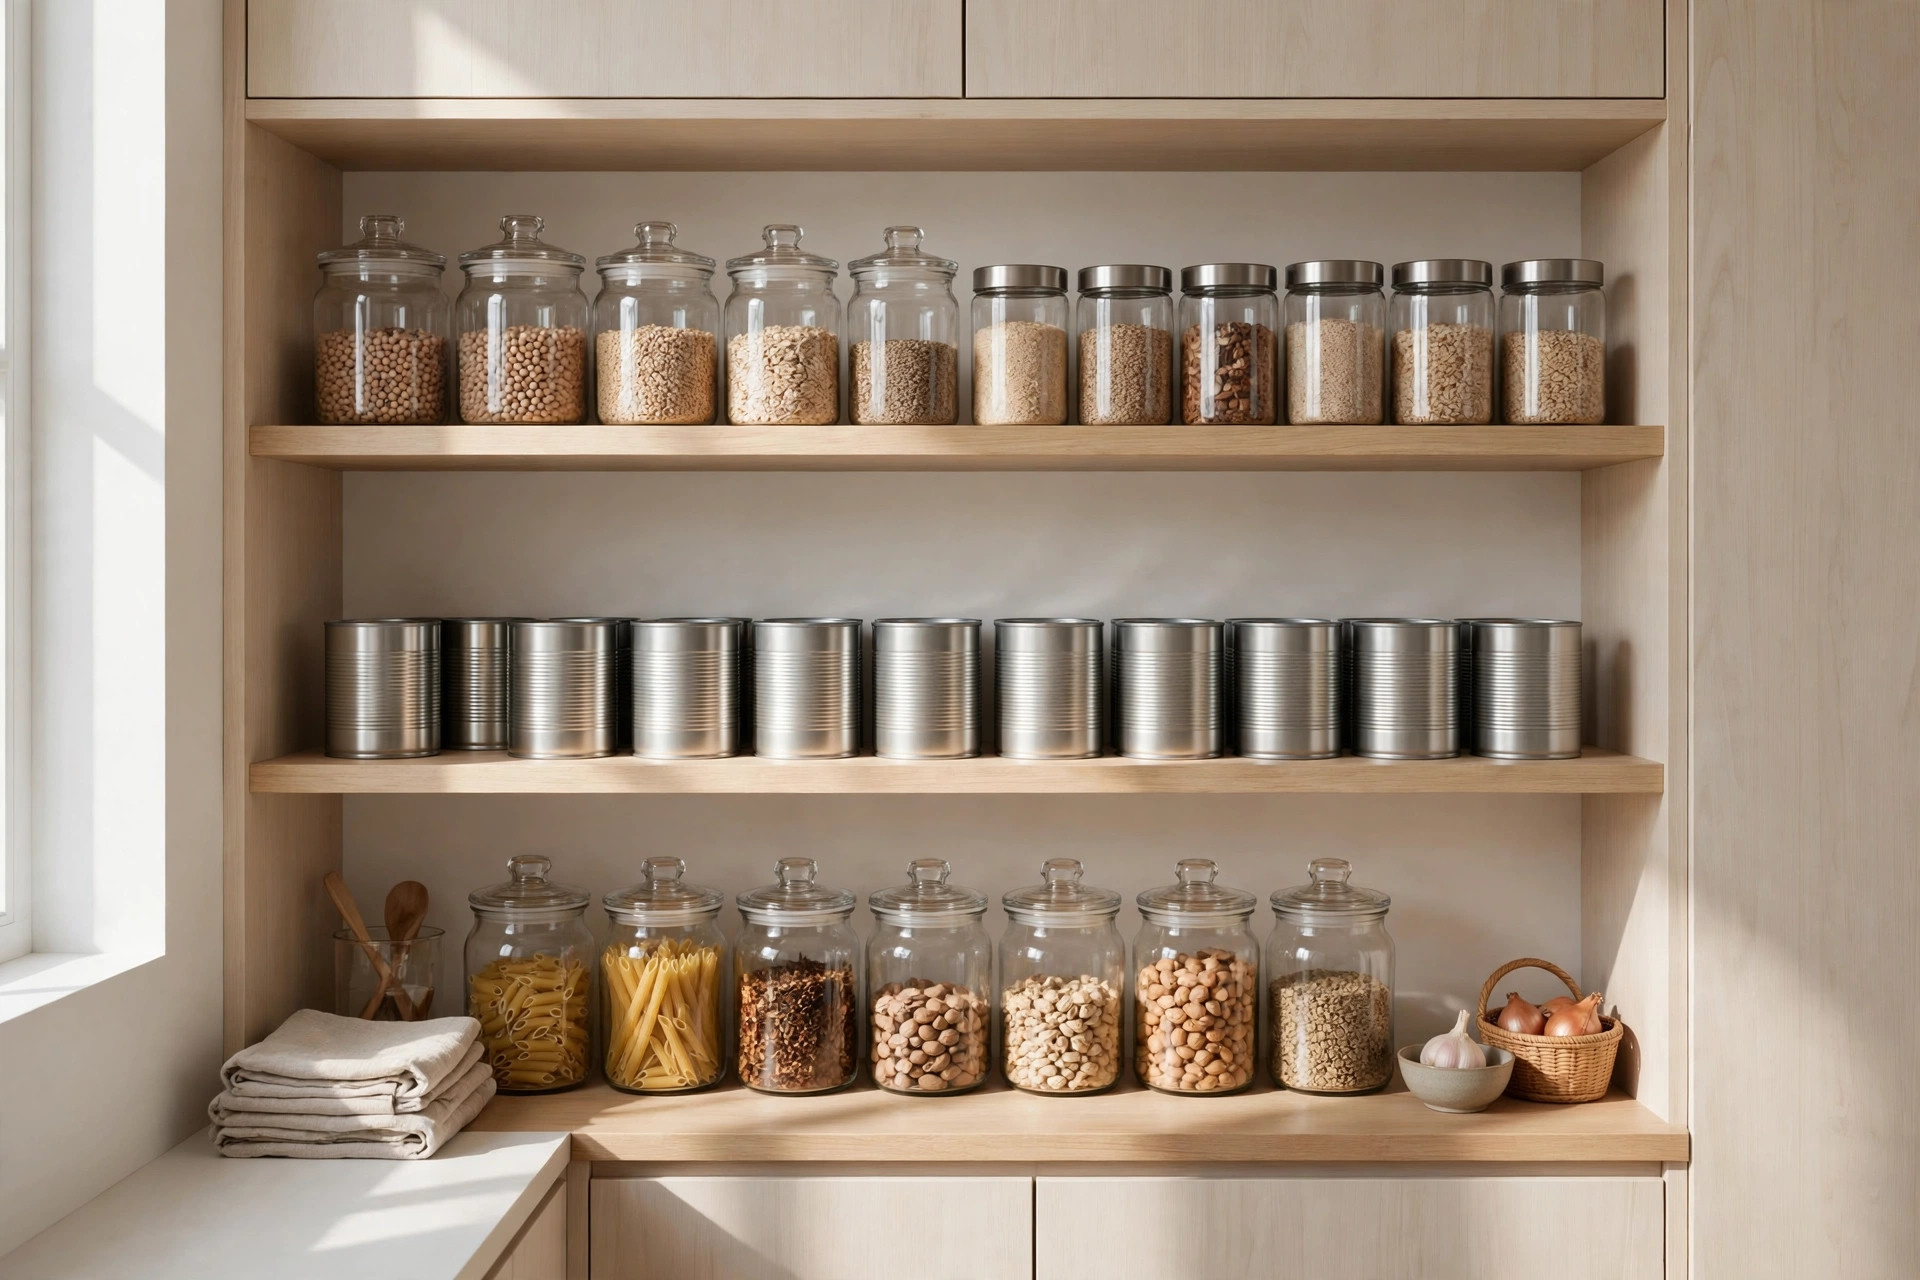
Open any kitchen TikTok right now and you'll see it: pantries with no boxes, no bags, no visual noise. Just rows of clear containers with clean labels, every dry good visible at a glance. Pantry decanting (transferring food from store packaging into reusable containers) is one of the defining kitchen trends right now, and it's not just aesthetics.
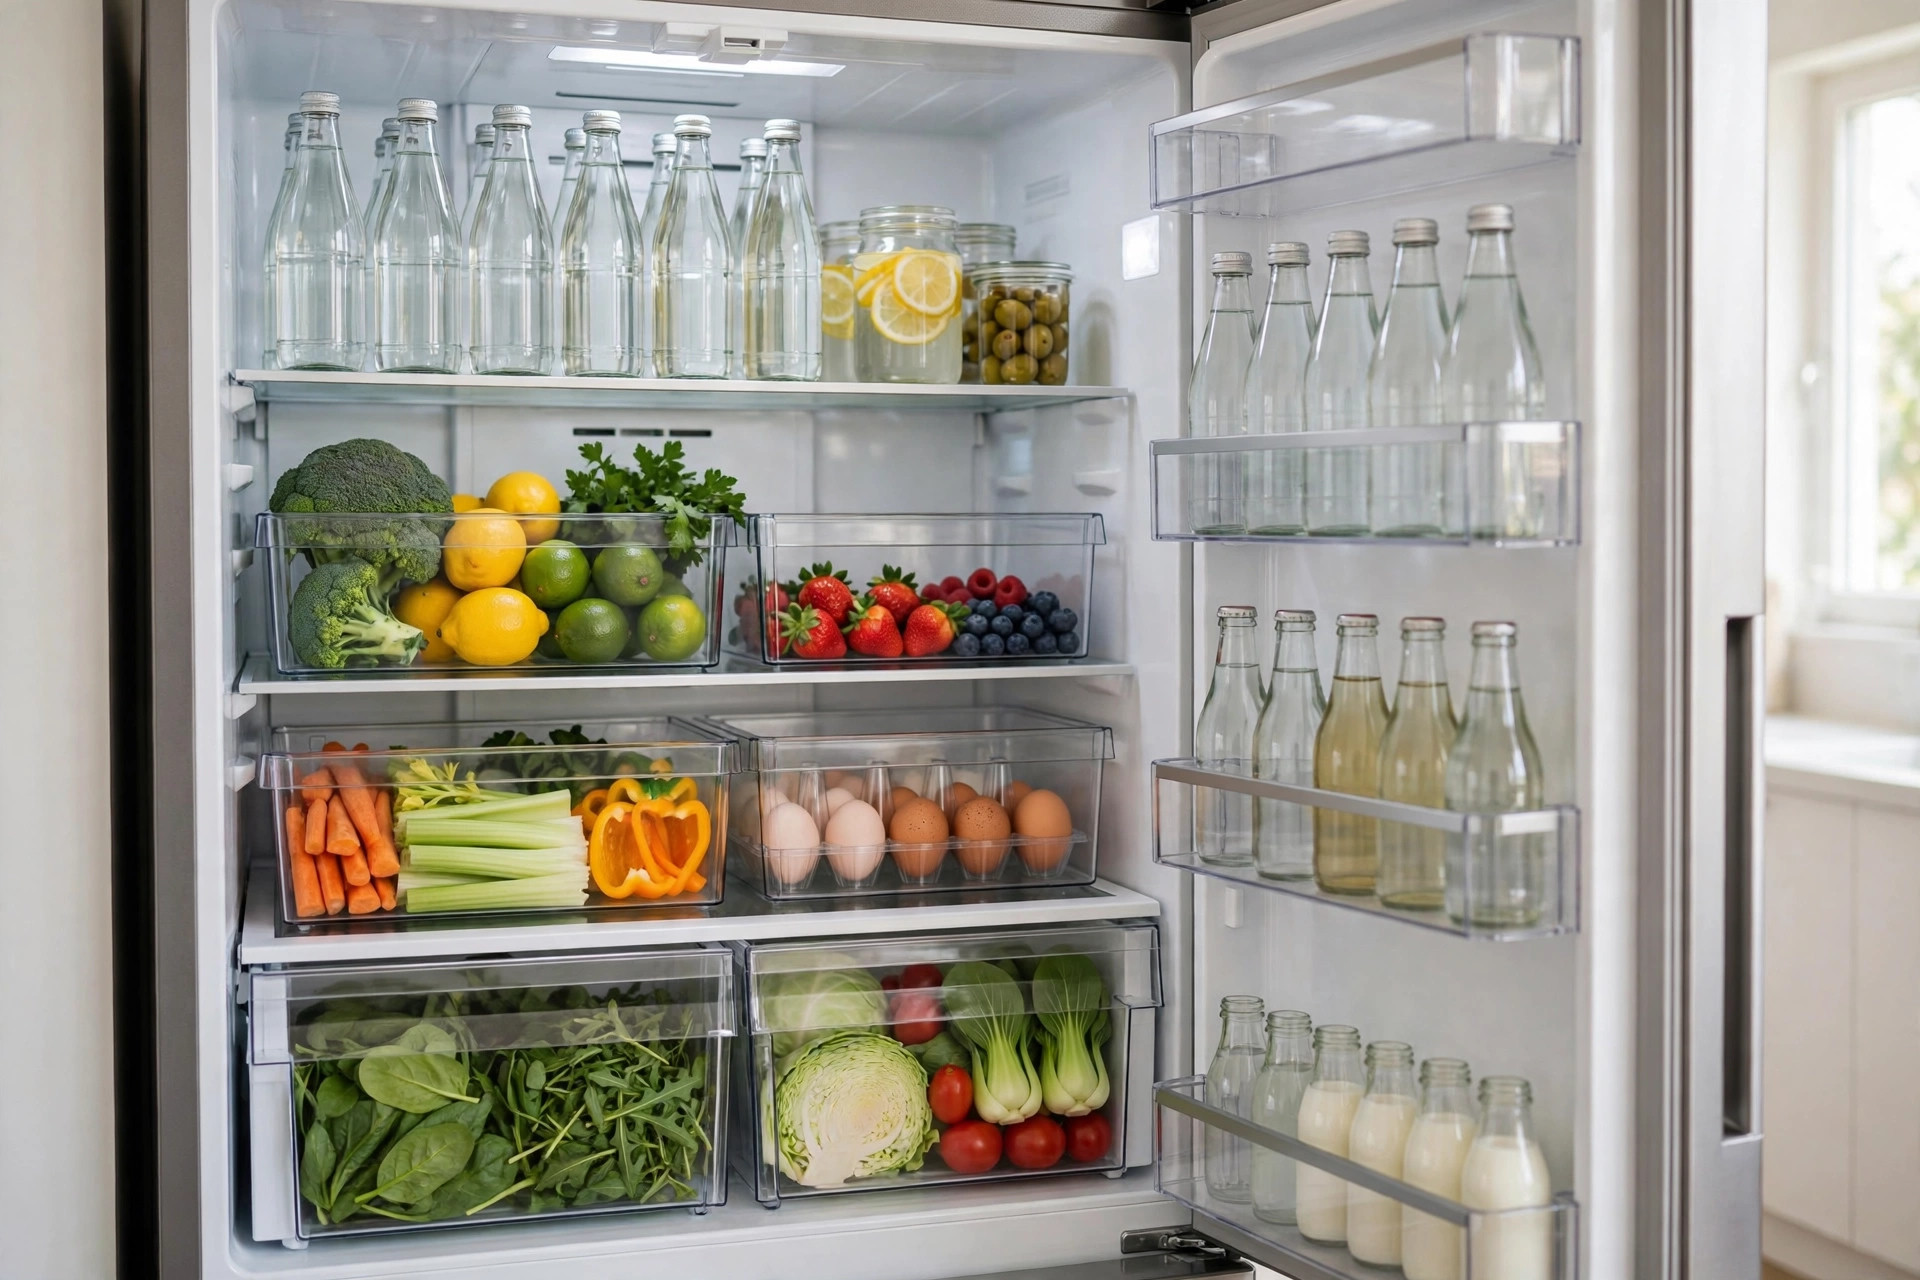
Decanted pantries waste less food (you see what you have), save money (buying in bulk is cheaper per ounce), and make small kitchens feel dramatically bigger. The catch everyone worries about: those container sets look expensive. This guide does pantry decanting on a budget for a small kitchen, start to finish, without the $300 container haul.
Why Decanting Works Especially Well in Small Kitchens
Small pantries punish packaging. Half-empty cereal boxes, chip bags clipped shut, and rice bags slumped over waste vertical space and hide what's behind them. Uniform containers stack, line up flush, and turn dead air into usable storage. In a 2-foot-wide pantry cabinet, decanting can effectively add a shelf's worth of capacity.
Step 1: Purge Before You Buy a Single Container
Empty the entire pantry onto the counter. Toss anything expired (check dates, don't sniff-test your way through). Consolidate the three half-bags of the same flour. Donate the specialty ingredients from a recipe phase you never finished.
Count what remains by category: flours and sugars, grains and pasta, snacks, baking supplies, canned goods. You're buying containers for what you actually store, not for a fantasy pantry.
Step 2: Buy the Right Containers (Cheap)
You need far fewer containers than the inspiration photos suggest. The budget starter set:
Airtight canisters for dry goods (6 to 8): flour, sugar, rice, pasta, oats, cereal, coffee, snacks. Look for sets of 8 to 12 on sale; decent ones run $25 to $40 for a set. The seal matters more than the brand: press the lid and listen for the air release.
Tall thin containers for pasta and spaghetti: two or three, about $3 each.
Small jars for spices and baking: if your spices are still in store jars, leave them. Only decant what comes in bags.
One large container for bulk flour or pet food if you buy big bags.
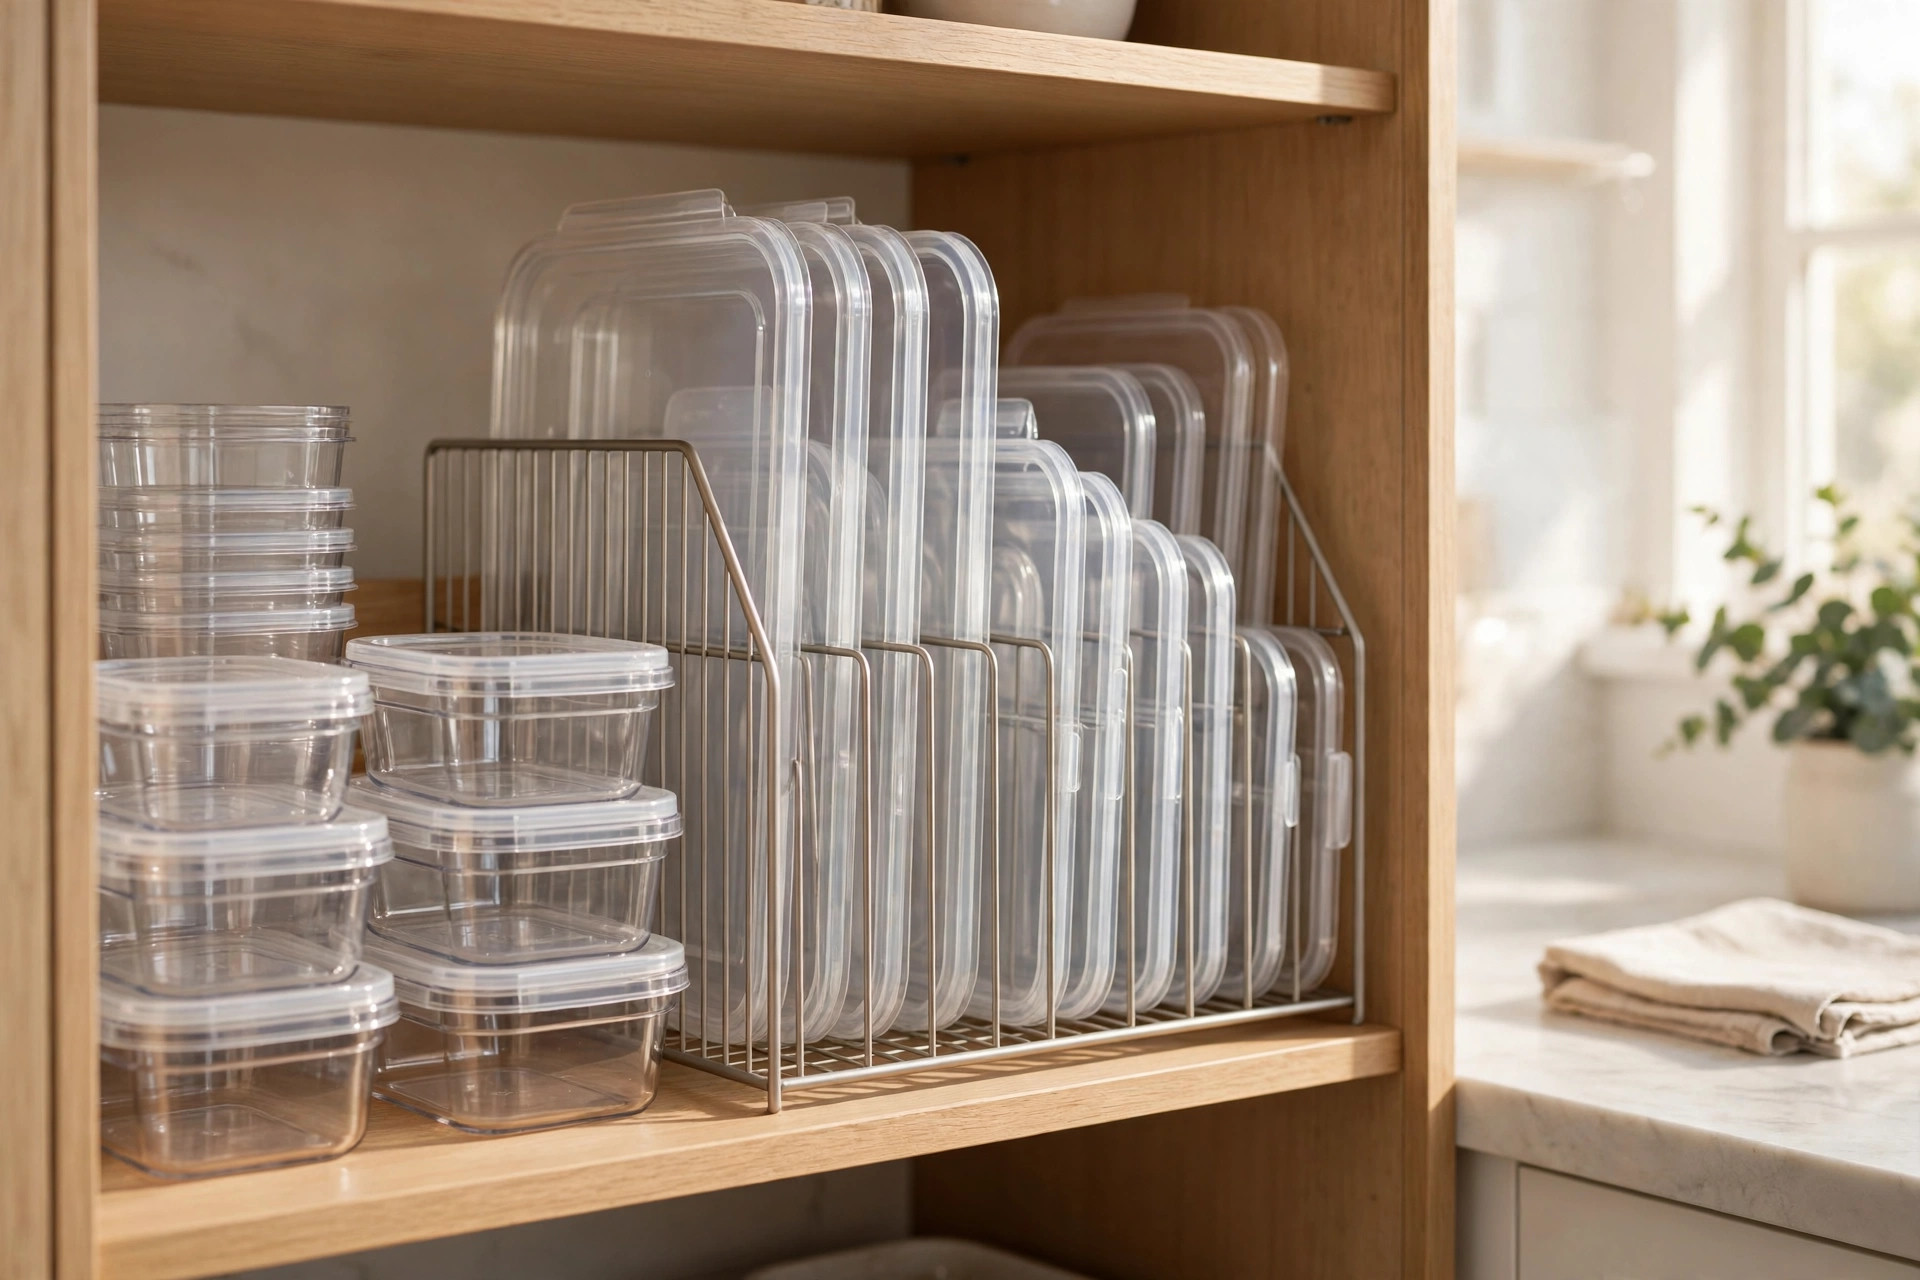
What to skip: single-ingredient novelty containers, anything that isn't dishwasher safe, and matching sets larger than 12 pieces (you'll never fill them in a small kitchen).
Dollar stores and discount chains now carry perfectly good airtight canisters. The $4 container holds flour exactly as well as the $18 one.
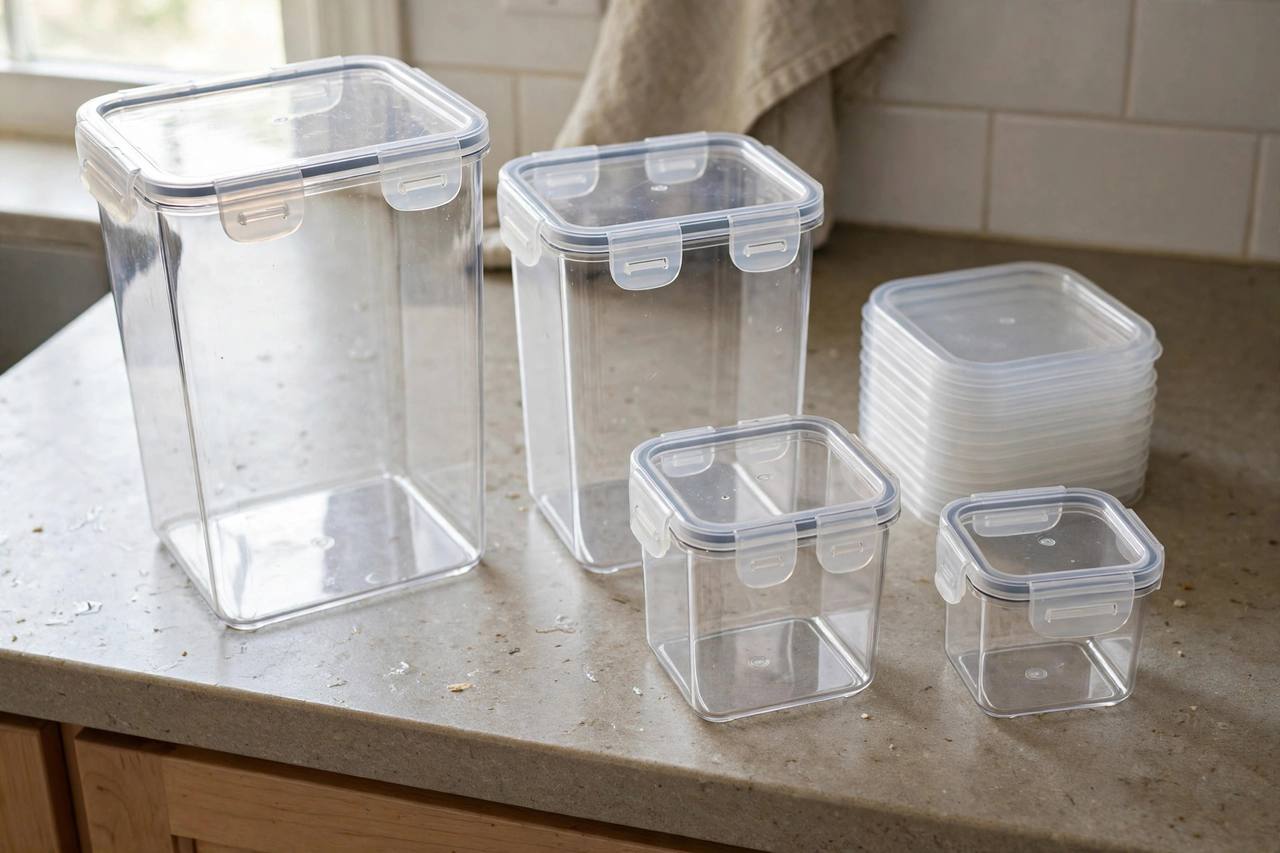
Step 3: Decant in One Session
Pour, label, done. Work category by category so the counter doesn't become chaos. A few rules:
Label everything. Painter's tape and a marker work fine; fancy vinyl labels are optional. Unlabeled containers are how you cook with powdered sugar instead of flour.
Note the expiration date. Write it on the label or tape the cut-out date panel to the bottom of the container.
Don't decant everything. Canned goods stay in cans. Oils stay in bottles. Only dry goods in bags and boxes benefit.
Leave headroom. Fill to about 90 percent so the seal seats properly.
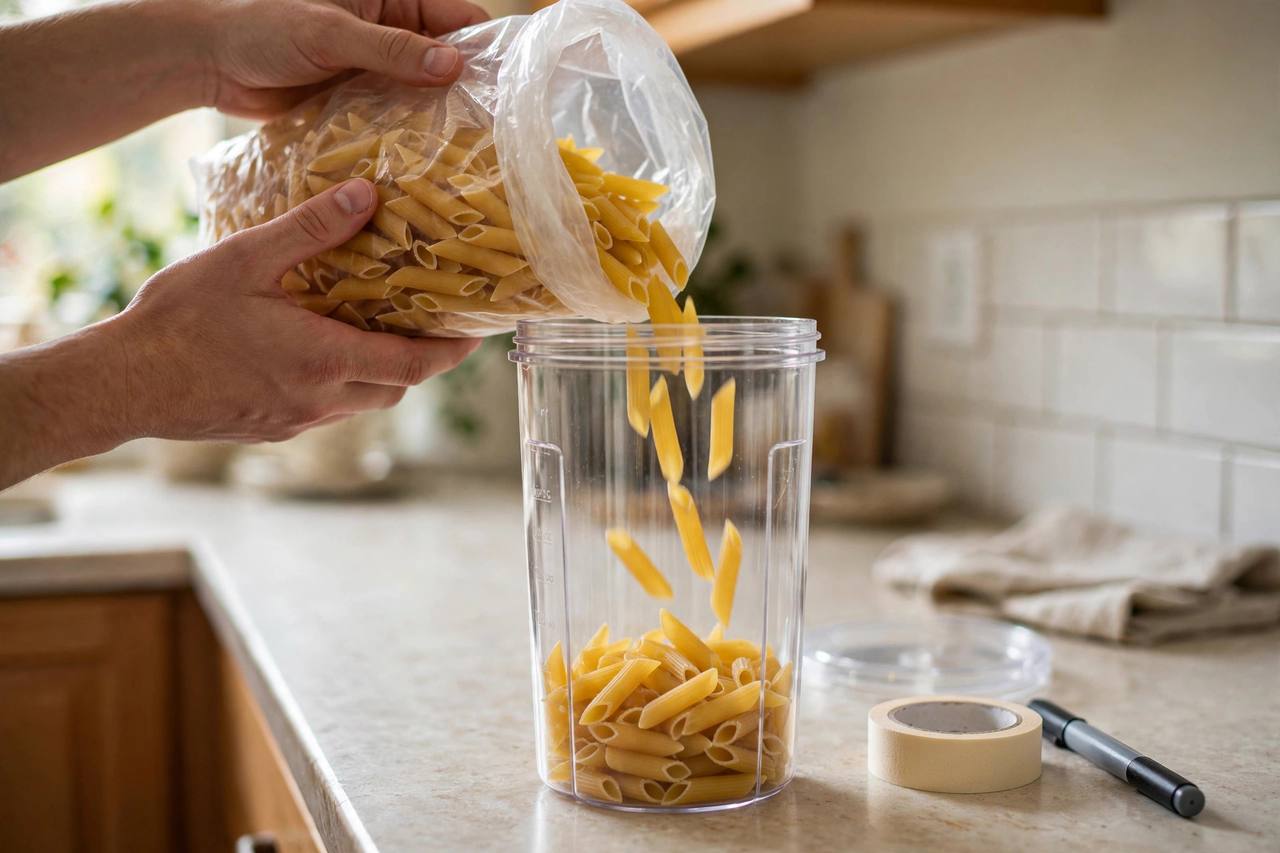
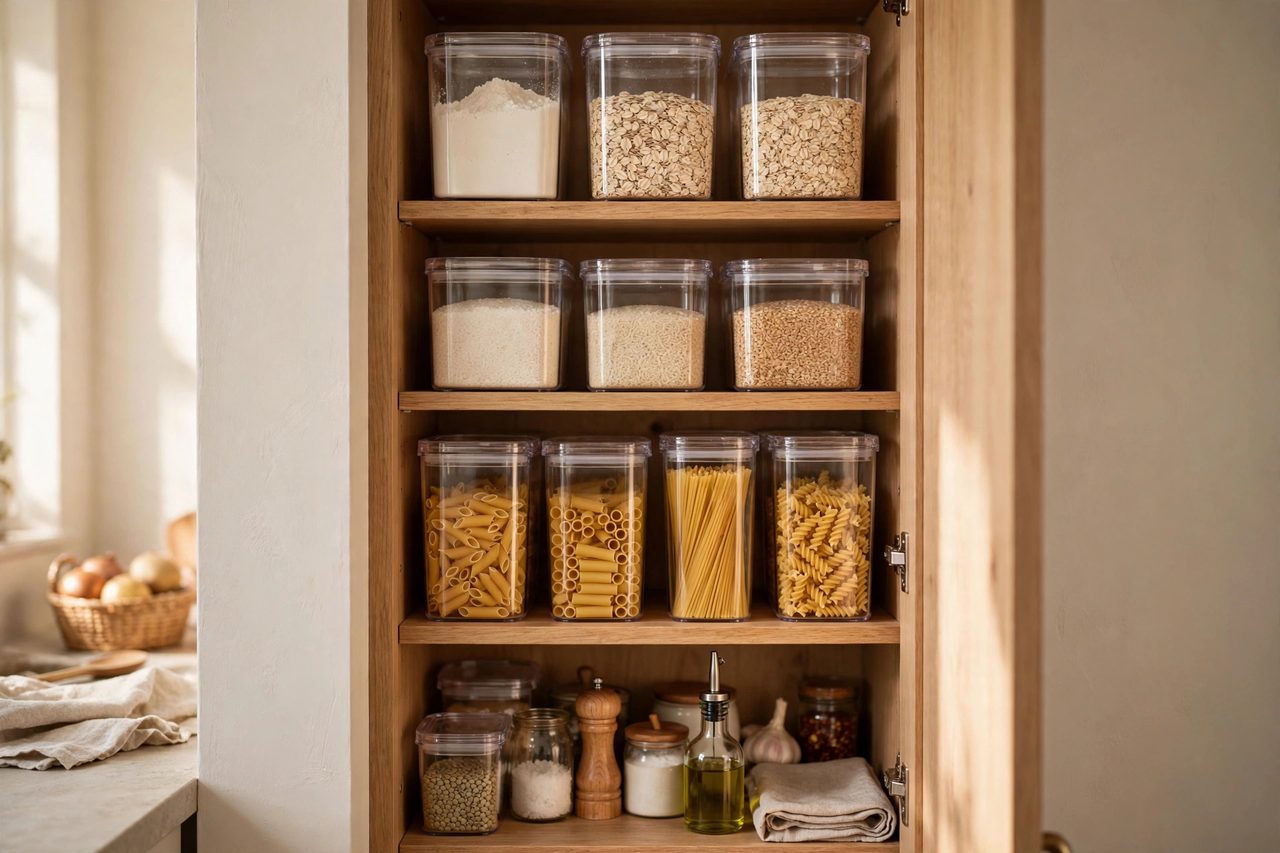
Step 4: Arrange for a Small Space
Heavy and daily at eye level: the flour, sugar, coffee, and cooking oil you grab every day.
Backstock up high: the backup rice bag, the extra pasta. Decant only what fits in the working container; store the rest of the bulk bag behind it.
Kids' snacks low: if little hands need access, the snack containers live on the lowest shelf. Independence for them, fewer interruptions for you.
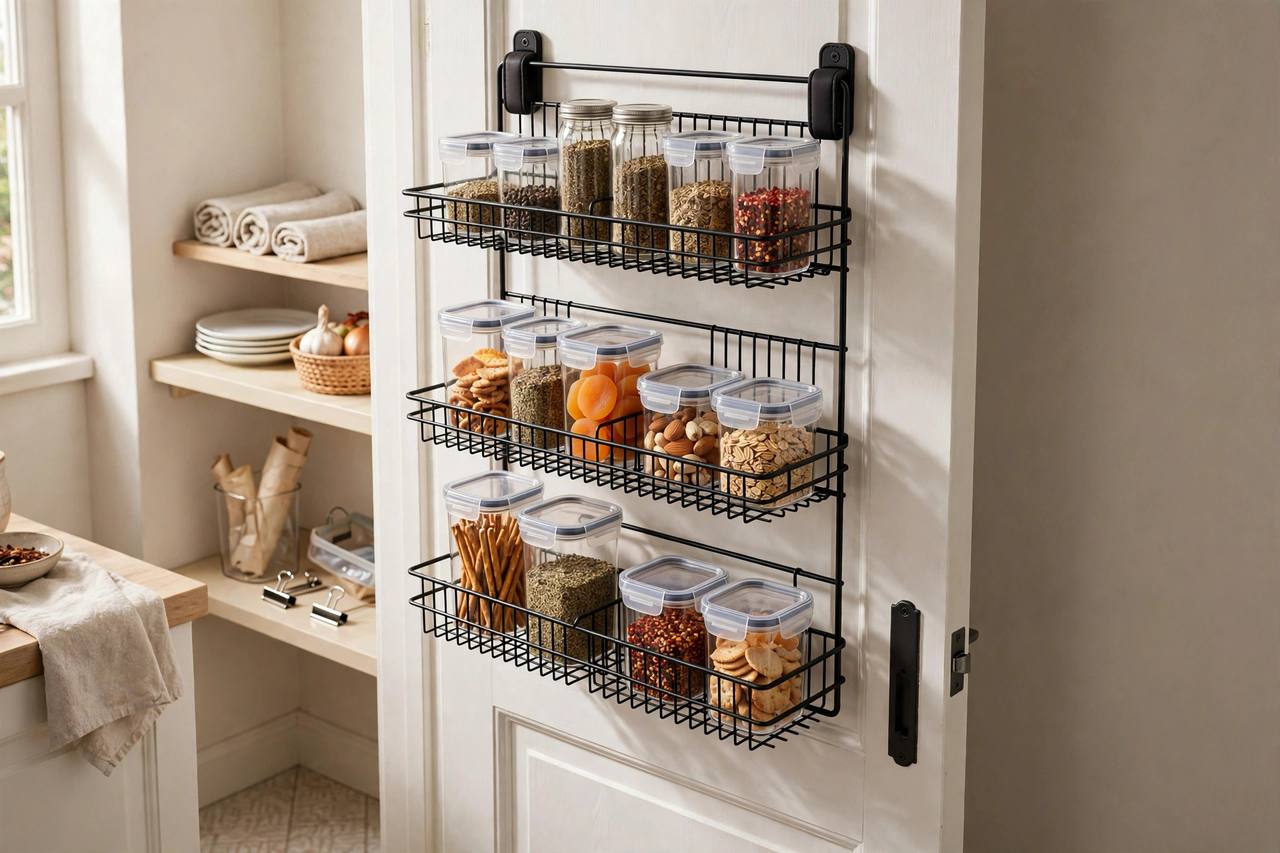
Use the door. An over-the-door rack or adhesive-mounted spice shelves on the inside of the pantry door reclaim a full extra row of storage. (Renter-friendly.)
The Real Cost Breakdown
| Item | Budget spend | |---|---| | 8-12 piece airtight set | $25 to $40 | | 2-3 tall pasta containers | $6 to $9 | | Labels (tape + marker) | $5 | | Over-the-door rack (optional) | $15 to $25 | | Total | $50 to $80 |
Compare that to the $200-plus "pantry makeover" sets, and to the money you'll save buying bulk and wasting less. Most households break even within two months on reduced food waste alone.
What Decanting Won't Fix
Decanting is organization, not purging. If the pantry is full of food nobody eats, containers just make the clutter photogenic. Do the purge first (Step 1 isn't optional).
It also adds one small chore: washing containers between refills. Run them through the dishwasher when they empty and it's a non-issue.
Keep It Up
The refill rule. When a container hits a quarter full, the item goes on the grocery list. No more discovering you're out of rice mid-recipe.
One in, one out. New specialty ingredient? It replaces something, or it doesn't come home.
Seasonal reset. Every fall, do a 20-minute pantry audit before holiday baking season: toss the stale, consolidate the duplicates, wipe the shelves.
A decanted pantry isn't about looking like a magazine. It's about opening the cabinet and knowing exactly what you have, in a kitchen where every inch counts.