Craft Room Organization on a Budget
If there is one room that goes from tidy to tornado in a single afternoon, it is the craft room. One skein of yarn becomes twelve, buttons multiply in the drawer, and somehow you own four glue guns. You are not messy — craft supplies just reproduce when you are not looking.
The good news: you do not need a wall of expensive storage cubes to fix it. This guide is packed with craft room organization ideas that cost little to nothing. You will learn how to sort supplies by craft type, store beads and buttons so they never spill again, keep fabric and yarn tidy without fancy shelving, set up a paper crafting zone, repurpose containers you already own, build cheap pegboard wall storage, keep works-in-progress contained, and use a "finish or release" rule for abandoned projects.
Sort First, Store Second
Before you buy a single bin, do a full supply audit. Pull everything out of drawers, boxes, and that one chair, and sort it into piles by craft type: sewing, knitting and crochet, paper crafts, painting, jewelry making, embroidery.
Then be honest with each pile. Dried-out markers, bent needles, and mystery yarn from 2019 go in the trash or donation box. Keep supplies only for crafts you still do — this alone often clears a third of the clutter.
The golden rule from here on out: like lives with like. Thread with thread, fabric with fabric, buttons with buttons. Most craft chaos is just categories bleeding into each other.
Craft Room Organization Ideas That Cost Almost Nothing
Tiny supplies cause the biggest headaches, so give each tiny category its own container — you probably own them already.
- Pill organizers make perfect bead and sequin storage. Each compartment snaps shut, so nothing migrates.
- Ice cube trays hold jump rings, clasps, and findings while you work a jewelry project.
- Mason jars and old food jars show exactly what is inside. Group buttons by color and they become decor.
- Muffin tins keep sorted pieces separated on your worktable mid-project.
For thread and floss, wrap embroidery floss around clothespins secured with tiny rubber bands and stand them in a jar like a bouquet. Hang sewing thread spools on a wall-mounted dowel so every color is visible, and keep machine bobbins paired with their spool by threading a golf tee through the spool hole.
Label everything. Painter's tape and a marker work beautifully — a jar that says "silver jump rings" saves you twenty minutes of hunting.
Tame Fabric and Yarn Without Fancy Shelving
Fabric and yarn are your bulkiest supplies, so they cause the most visual chaos. The fix is making them uniform so they stack and stand neatly.
Fabric: Fold yardage to a consistent size by wrapping it around a piece of cardboard or a comic book board, creating fabric "bolts" that file vertically in a crate or drawer like books. You can see every fabric without unstacking anything. Rubber-band scraps by color family and stand them upright in a shallow box — and keep one small "scraps only" box so loose pieces never wander the room.
Yarn: A hanging over-the-door shoe organizer becomes a yarn cubby — one ball per pocket, fully visible, zero tangling. Stack skeins in milk crates or sturdy boxes with labels facing out, and tuck partial-skein labels inside the ball so you always know the brand and weight.
Vertical filing is the secret behind every organized stash photo you have admired. Cardboard boxes and thrifted crates work fine — nobody sees the container.
Create a Paper Crafting Zone
Paper crafts have the most small categories, so give them a zone: one surface or shelf section where everything for that craft lives together.
- Store cardstock and 12x12 paper upright in magazine holders or file boxes, sorted by color. Flat stacks guarantee the sheet you want is always at the bottom.
- Keep clear stamps in binders with photo pages, sorted by theme (birthday, floral, holiday).
- Corral dies and cutting machine accessories in one box, with metal dies on a small magnetic sheet.
- Group adhesives and tools — tape runners, scissors, craft knives, rulers — in one portable tray you can carry to the table and back.
Leave a clear "landing strip" next to your cutting machine, and keep a shallow tray labeled "current project" for papers and embellishments while you work.
Repurpose Household Containers Before You Buy a Thing
Walk through your kitchen and bathroom before driving to the store. You are sitting on a storage goldmine:
- Glass jars for buttons, beads, and brads
- Cookie tins and lunch boxes for notions and small tools — pretty tins earn their shelf space
- Pencil cups and toothbrush holders for paintbrushes, markers, and crochet hooks
- Shower caddies hold paint and glue in a portable unit you can carry to the sink
- Wall-mounted spice racks display embroidery floss and ink pads beautifully — thrift stores are full of them
- Tackle boxes sort findings and eyelets by size
- Paper towel holders hold ribbon spools horizontally for easy pulling
Try the "no new purchases" challenge: outfit your system from what you already own first, and buy only what you are truly missing.
Pegboard and Wall Storage for Pocket Change
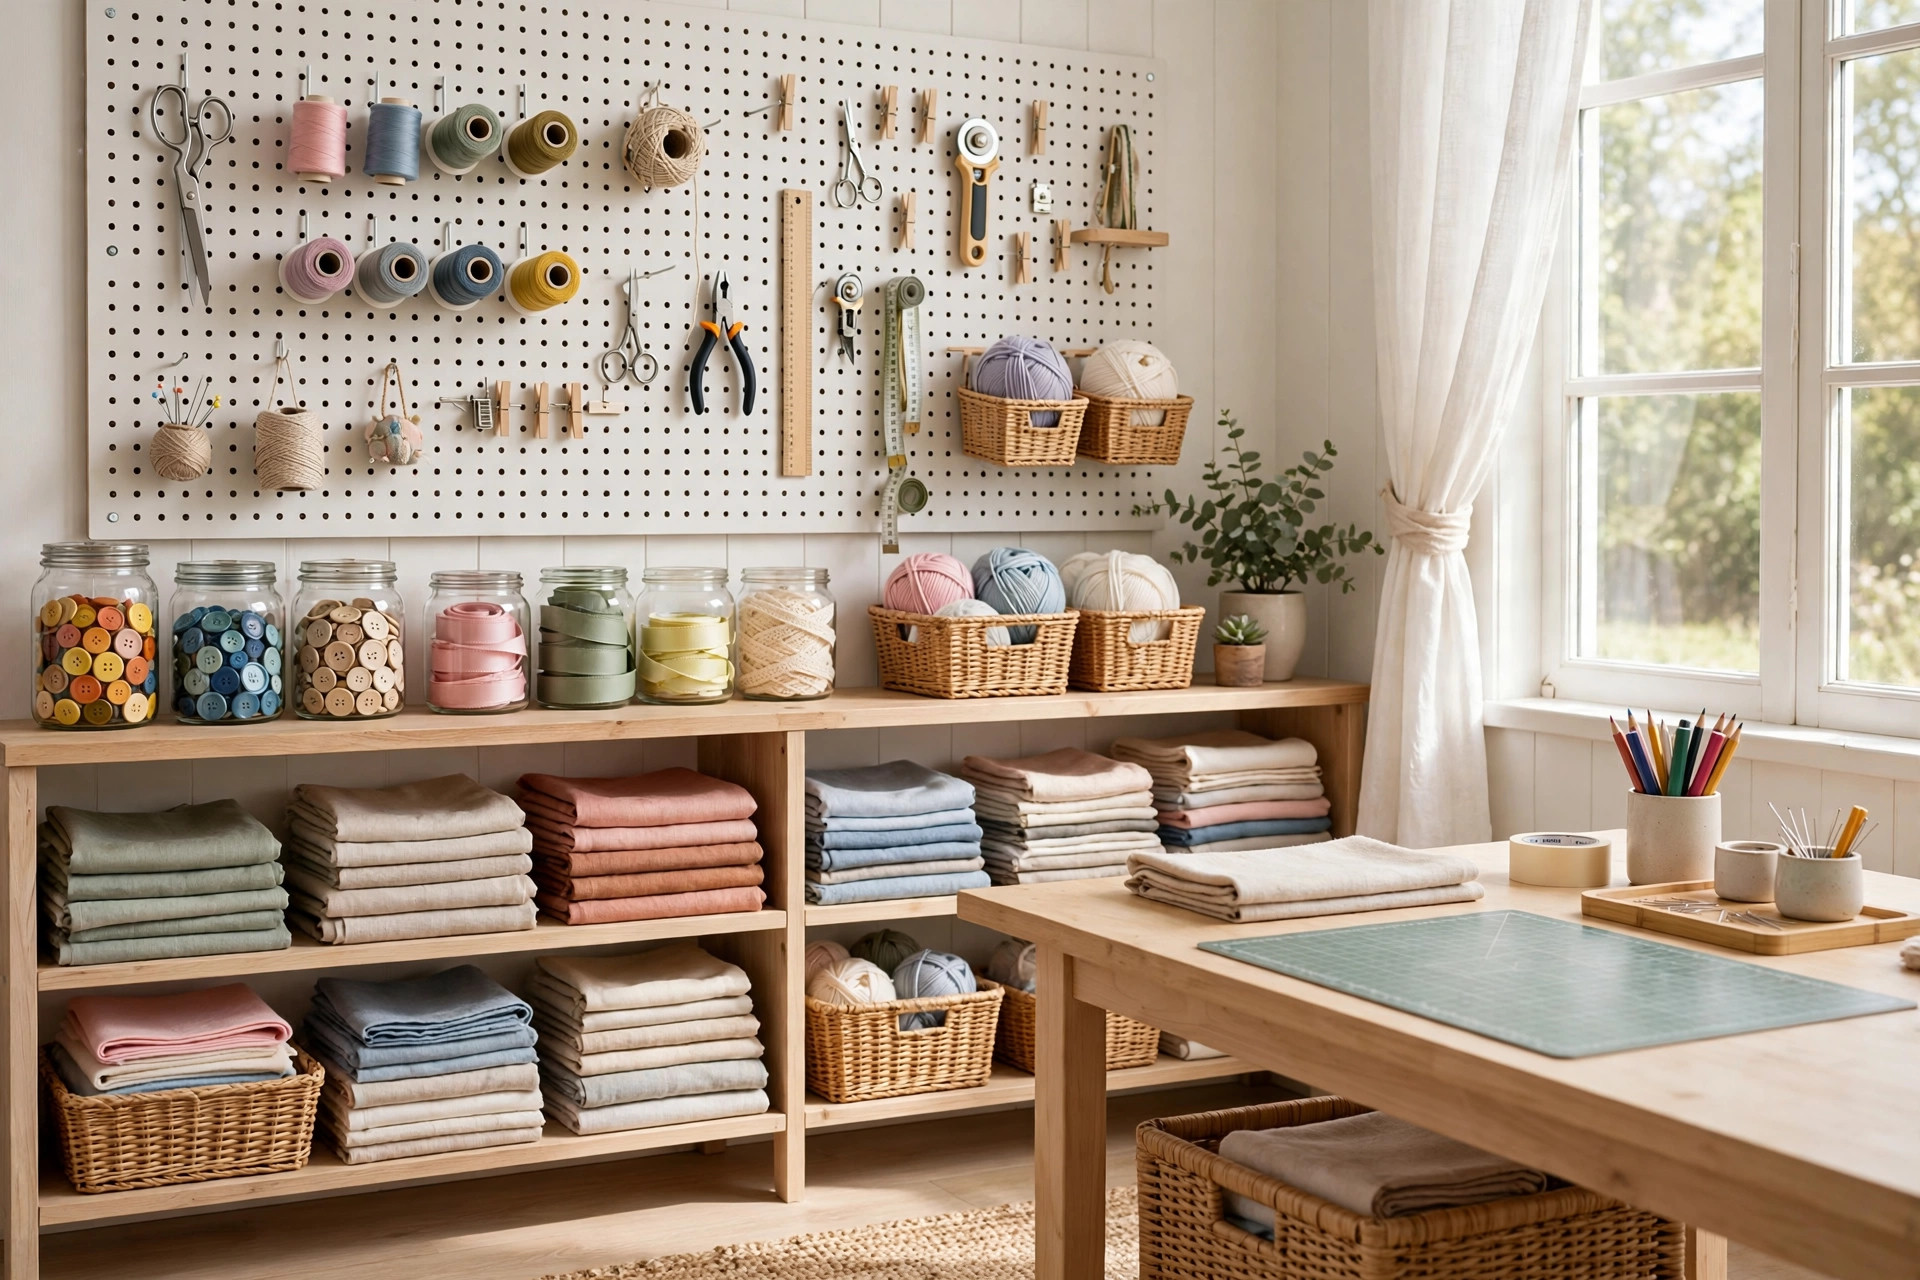
Floors and tabletops are prime real estate. Walls are free storage waiting to happen, and pegboard is the budget crafter's best friend — cheap, endlessly reconfigurable, and shockingly capacious.
- Mount one pegboard panel above your worktable and hang scissors, rulers, pliers, and brushes on standard hooks.
- Run dowel rods through the peg holes to create ribbon and washi tape holders — pull tape straight off the roll from the wall.
- Hang small cups or jars from cup hooks for in-progress bits like buttons and stitch markers.
- Trace each tool's outline on the board once it is hung. It looks great and makes it obvious when something has not been put back.
More cheap wall wins: Command hooks hold scissors and tote bags without drilling, a tension rod inside a cabinet holds spray bottles, and one shelf board on brackets keeps reference books off your work surface.
Keep Works-in-Progress Contained
Every crafter has them: the half-knit scarf, the quilt top waiting for backing, the card kit from March. WIPs are not the enemy — WIPs without homes are.
The rule: one project, one container. Each active project gets a bag, box, or bin holding everything — materials, pattern, tools, and a sticky note saying where you left off. Want to work on it? Grab the container. Done for the day? Everything goes back in, and the container goes back on its shelf.
Give all your WIPs one dedicated shelf or bin. When it is full, you have hit your limit — finish something before starting something new. This single rule prevents the "eight half-finished projects eating the room" spiral.
The Finish-or-Release Rule for Abandoned Projects
A few times a year, pull out every project you have not touched in months and apply the finish-or-release rule:
- Hold the project in your hands.
- Ask: Am I excited to finish this within the next month?
- If yes, it goes back in its container with a finish date on the label.
- If no, release it. Unravel the yarn, return the supplies to your stash, and pass materials on to someone who will love them.
Released supplies are not wasted money — they are inventory for projects you will actually finish. Keep a "goodbye box" for donated supplies and hand it off when it fills up.
Frequently Asked Questions
How do I organize a craft room in a small space?
Prioritize vertical storage — pegboard, wall shelves, and over-the-door organizers turn unused walls into prime storage. Sort by craft type, give each active project one container, and keep only current crafts in the room.
What is the cheapest way to store craft supplies?
Repurpose what you already own first: glass jars, muffin tins, ice cube trays, pill organizers, and cookie tins all make excellent craft storage. A thrift-store spice rack or a single pegboard panel covers most wall storage for very little money.
How do I stop buying duplicate craft supplies?
Sort everything by craft type once, keep like with like, and label your containers — most duplicates come from forgetting what you own. A quick phone photo of your stash before shopping trips helps too.
How do I keep works-in-progress from taking over?
Give each active project one container holding all its materials, pattern, and tools, and store every WIP on a single shelf. Set a personal limit: when the shelf is full, finish a project before starting a new one.